What you are building
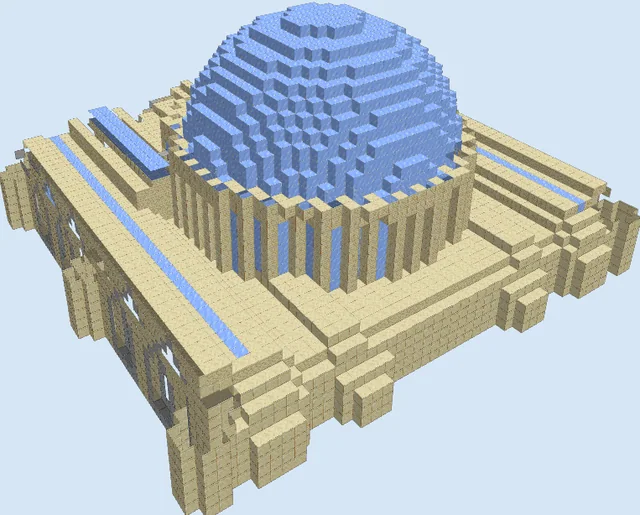
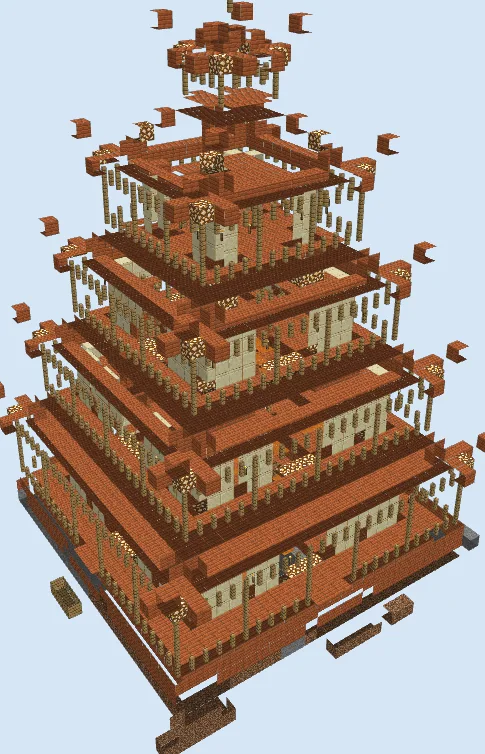
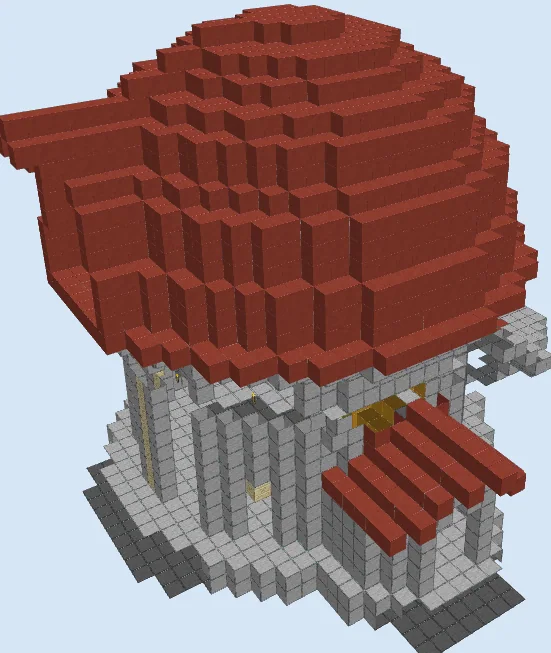
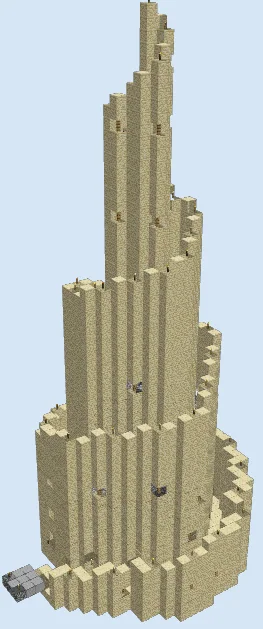
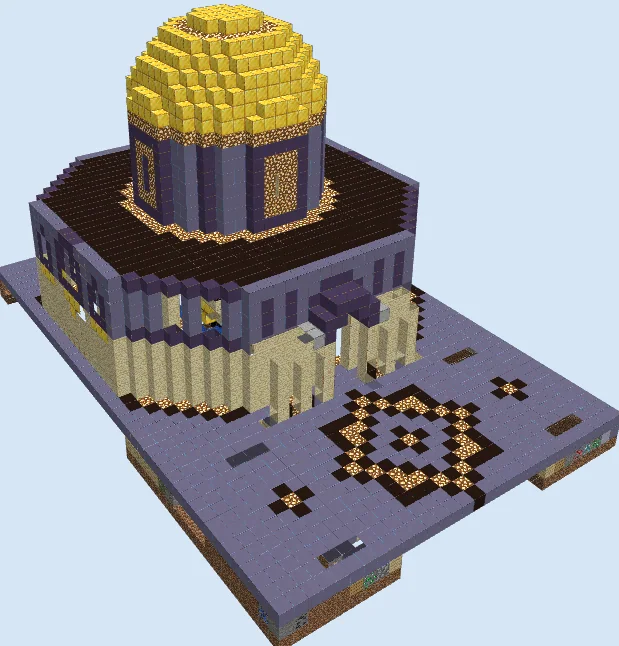
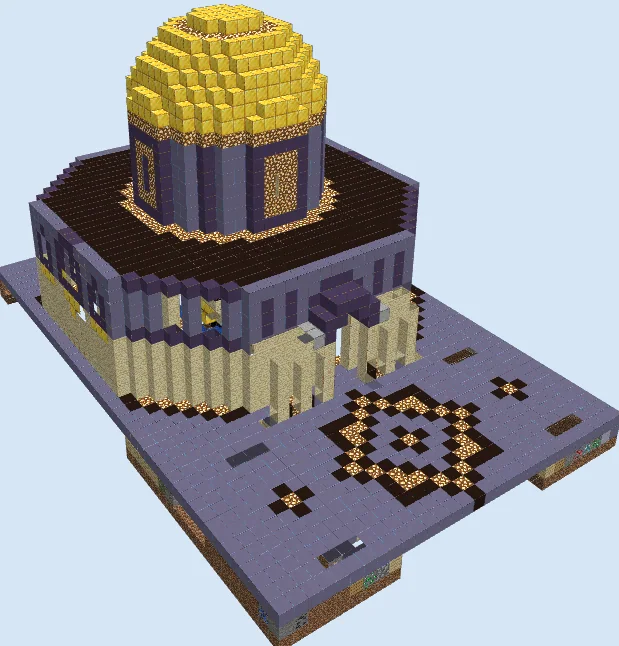
Rising boldly against the desert horizon, this monumental shrine draws inspiration from ancient rotunda architecture and desert sanctuaries. Built atop a wide tiled plaza with glowing inlaid geometric patterns, the structure transitions from a fluted sandstone colonnade into an octagonal drum, culminating in a gleaming dome of solid gold that commands attention from chunks away.
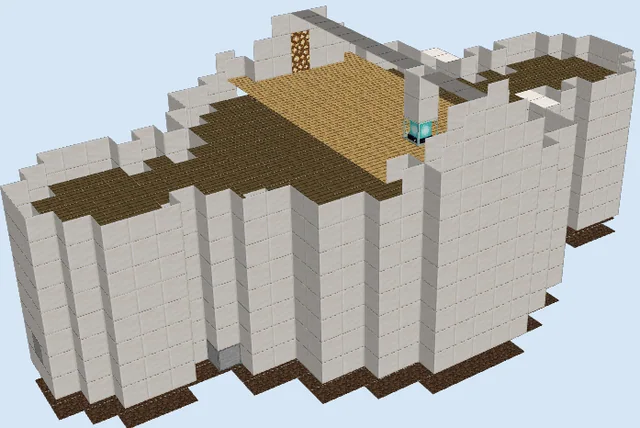
This build serves as an awe-inspiring centerpiece for a bustling desert metropolis, an oasis capital, or an endgame survival base. Inside, an ornate pool bordered by water, obsidian, and glowing accents surrounds a hidden lower sanctum, making it as spiritually grand on the interior as it is striking on the skyline.
Gathering 244 Gold Blocks requires nearly 2,200 gold ingots; set up a Nether roof zombified piglin farm beforehand or substitute yellow blocks during initial framing.
The sunken obsidian basin at the center provides an ideal location for a hidden Nether portal that blends seamlessly with the temple's mysticism.
Materials 5,362 blocks · 42 types
- Grass Block1,04316 stacks + 19
- Light Blue Terracotta79712 stacks + 29
- Sandstone5789 stacks + 2
- Black Terracotta5017 stacks + 53
- Dirt4106 stacks + 26
- Glowstone3805 stacks + 60
- Sandstone Slab3385 stacks + 18
- Blue Terracotta2944 stacks + 38
- Gold Block2443 stacks + 52
- Sandstone Stairs2213 stacks + 29
- Chiseled Sandstone1292 stacks + 1
- Glass671 stack + 3
- Birch Planks55
- Lapis Block44
- Stone33
- Water28
- Obsidian26
- Iron Bars24
- Cut Sandstone20
- Smooth Stone18
- Andesite10
- Redstone Wire8
- Lapis Ore8
- Clay8
- Gravel8
- Emerald Ore7
- Iron Ore7
- Cobblestone7
- Gold Ore6
- Oak Planks6
- Light Weighted Pressure Plate6
- Redstone Ore5
- Sticky Piston5
- Mossy Cobblestone4
- Diamond Ore4
- Repeater4
- Coal Ore2
- Oak Wall Sign2
- Torch2
- Redstone Block1
- Redstone Torch1
- Stone Button1
Block palette
The palette pairs warm Sandstone and Chiseled Sandstone with the cool, slate-toned accents of Light Blue Terracotta and Blue Terracotta. Striking Black Terracotta provides sharp contrast in the roof and courtyard paving, while inlaid Glowstone ensures the entire monument remains illuminated after dark.
If farming hundreds of Gold Blocks proves too steep in early survival, swap the dome plating for Yellow Terracotta, Yellow Concrete, or Smooth Sandstone Slabs while preserving gold trimming along the ribs. Sea Lanterns can also readily replace Glowstone for a cooler ceremonial tone.
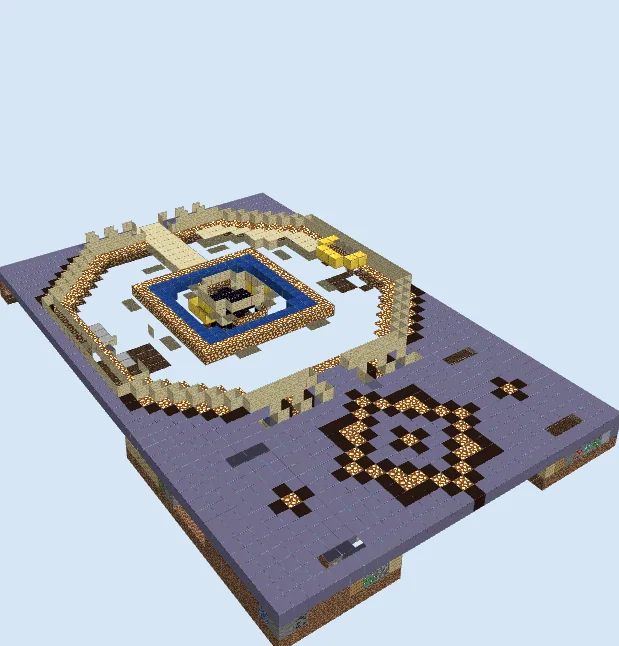
Lay the plaza and interior basin
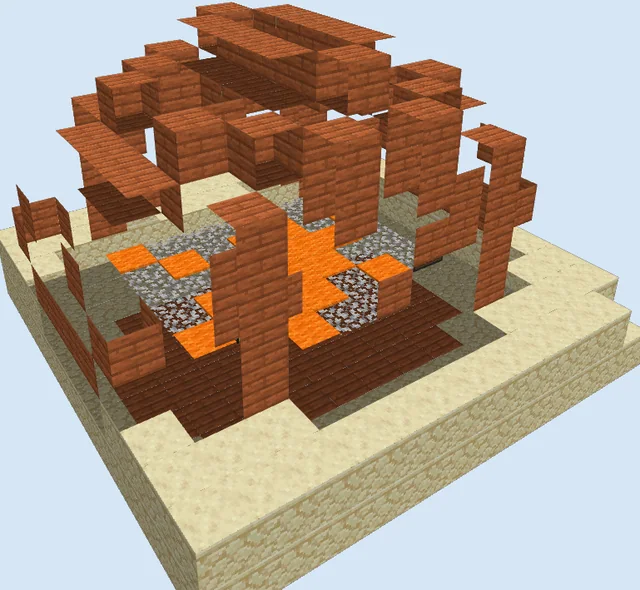
Layers 1–4 of 28Clear a flat foundation and pave the front courtyard using Light Blue Terracotta accented with decorative diamond medallions made of Black Terracotta and Glowstone. Behind the plaza, trace out the octagonal building footprint using Sandstone and Sandstone Slabs over perimeter lighting.
At the very center of the floor plan, dig down a sunken sanctum and border it with Glowstone, a trench of Water, and an inner chamber framed in Obsidian and Gold Blocks.
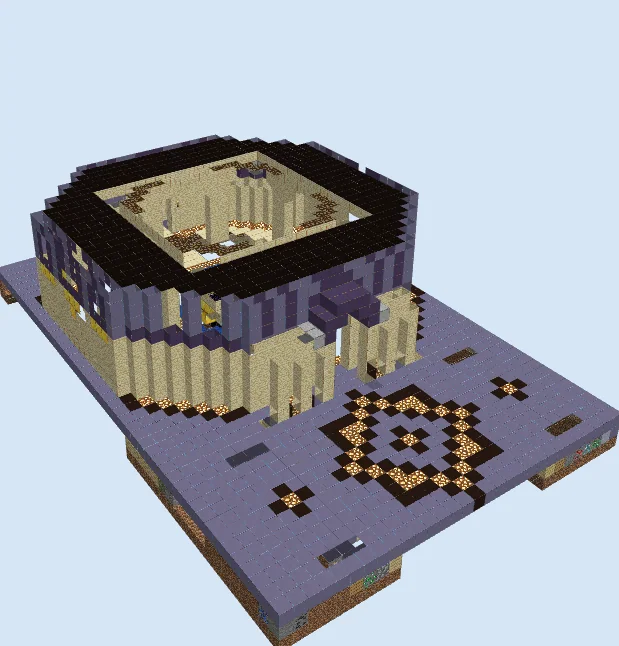
Erect the colonnade and lower roof
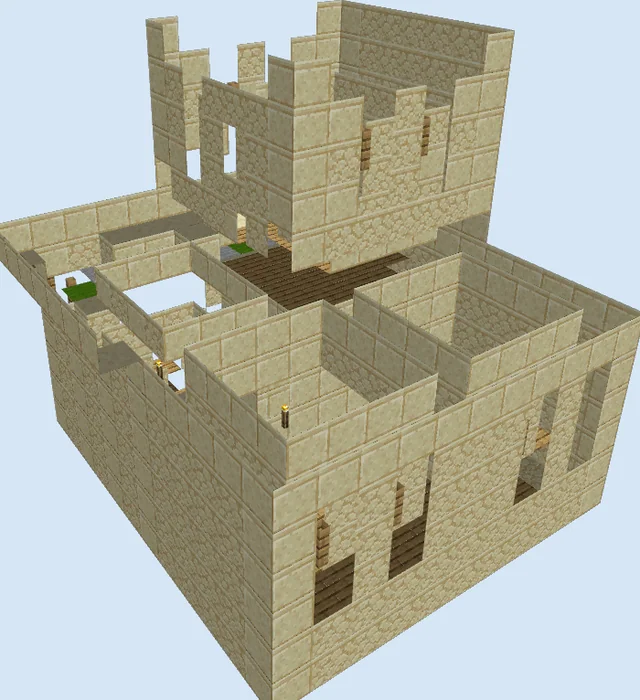
Layers 5–12 of 28Raise the outer perimeter using Sandstone pillars and Sandstone Stairs to form fluted, rhythmic wall bays around the octagonal hall. Frame the main entrance with a protruding gateway crowned by Blue Terracotta trim.
Above the sandstone tiers, lay bands of Light Blue Terracotta and Blue Terracotta to complete the outer walls, then seal the lower perimeter ceiling with a flat deck of Black Terracotta.
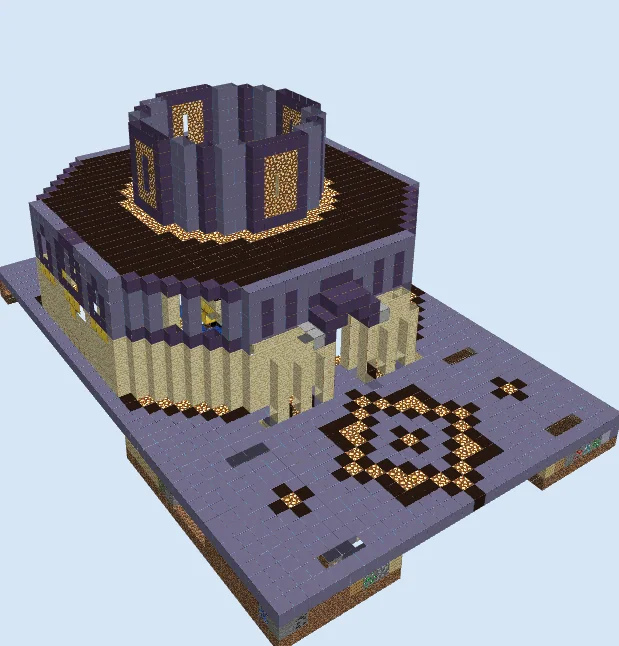
Raise the octagonal central drum
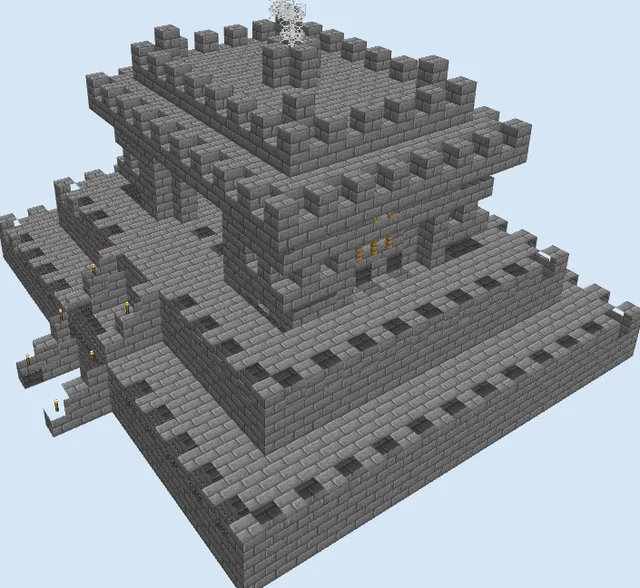
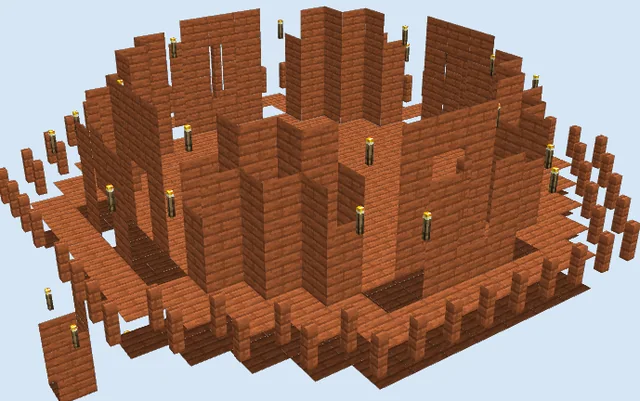
Layers 13–20 of 28Trace an inner circular base atop the black flat roof using a ring of Glowstone. From this ring, build the vertical octagonal drum upward using Light Blue Terracotta buttresses and recessed panels of Blue Terracotta.
Insert vertical Glowstone light panels framed in Chiseled Sandstone into each facet of the drum to illuminate both the roof deck below and the shrine hall within.
Crown the sanctuary with the golden dome
Layers 21–28 of 28Beginning just above the upper Glowstone collar on the drum, begin tapering concentric rings inward using solid Gold Blocks. Step each layer inward to create a smooth, rounded spherical dome shape.
Cap the summit with a raised decorative finial using extra Gold Blocks, completing the silhouette and ensuring the shrine shines brightly across the entire surrounding landscape.
Finishing touches
Line the outer perimeter of the plaza with Sandstone Stairs for smooth access, and surround the courtyard with potted cacti, palm trees, and small pools to embed the monument into your surrounding desert landscape.
Frequently Asked Questions
What are the exact dimensions required to clear for this build?
You will need a level area measuring 30 blocks wide by 46 blocks long, with at least 28 blocks of vertical clearance for the golden dome.
Does this build prevent hostile mob spawns?
Yes, the extensive use of inlaid Glowstone across the plaza, roof rim, and walls provides reliable light coverage to prevent monster spawning.