What you are building
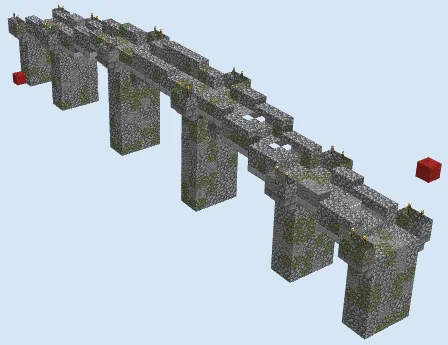
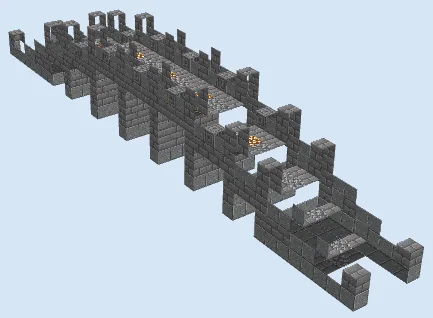
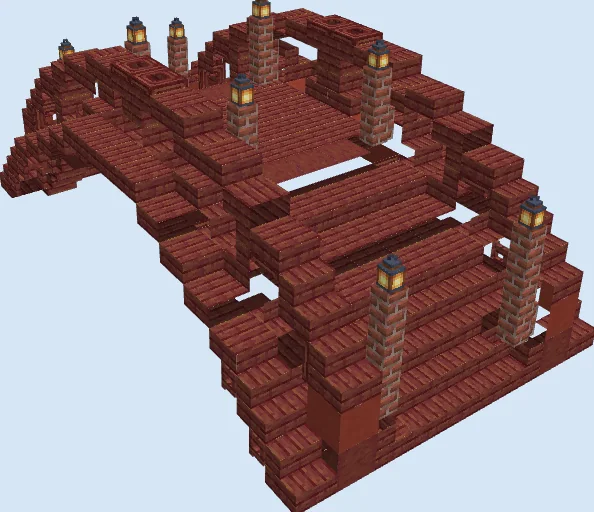
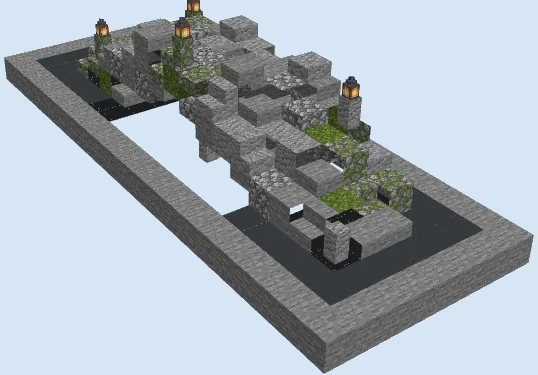
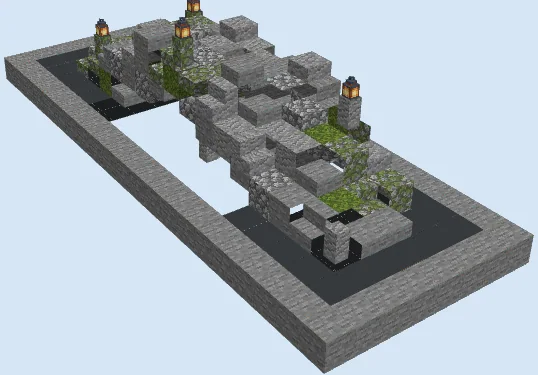
This compact stone footbridge has an old, weathered look built from a detailed mix of stone, cobblestone, andesite, and green moss. Gently curving over a small gap, it features low stepped railings and four corner wall posts topped with warm lanterns.
At 21 blocks long and 8 blocks wide including its display border, the bridge itself is narrow and quick to gather materials for in early survival. It fits naturally into forest biomes, lush caves, medieval villages, or cottage gardens where a clean, modern crossing would feel out of place.
The 73 Stone, 59 Gray Concrete, and 52 Water blocks in the material list mostly form the rectangular display tray around the render; you only need the mixed stones, moss, and lanterns for the bridge itself.
Waterlog the bottom stairs and slabs where the bridge meets the stream so there are no awkward air pockets in the water.
Materials 293 blocks · 19 types
- Stone731 stack + 9
- Gray Concrete59
- Water52
- Stone Slab19
- Stone Stairs12
- Mossy Cobblestone Stairs9
- Andesite8
- Mossy Cobblestone7
- Moss Block7
- Cobblestone7
- Andesite Slab7
- Andesite Stairs7
- Andesite Wall5
- Cobblestone Slab5
- Cobblestone Stairs4
- Mossy Cobblestone Wall4
- Lantern4
- Mossy Cobblestone Slab3
- Cobblestone Wall1
Block palette
The textured palette combines regular Stone, Andesite, Cobblestone, Mossy Cobblestone, and solid Moss Blocks so no two sections of the arch look identical. Mixing slabs, stairs, and walls from all of those stone families breaks up the blocky outline into a gentle slope.
If you have not found a lush cave for Moss Blocks yet, you can swap them for extra Mossy Cobblestone or Green Terracotta. The Stone and Gray Concrete border shown in the render is just a display base and can be skipped when building over a real river.
Build the bridge abutments and lower arch
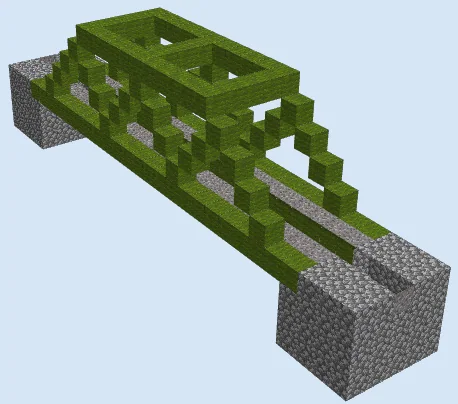
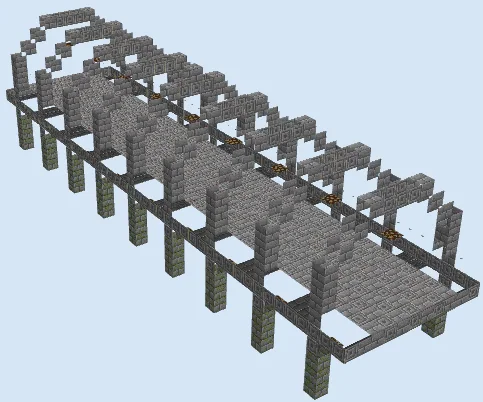
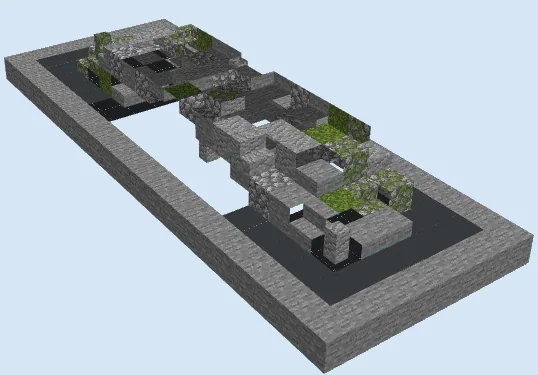
Layers 1–3 of 6Start on both banks by laying the lower ramps and arch supports up to layer 3. Mix Stone, Andesite, Cobblestone, and Mossy Cobblestone along with their matching stairs and slabs to form the stepped sides rising from the water.
Tuck a few Moss Blocks into the lower ramps for overgrown patches, and place the first Andesite Wall post at the front corner of the approach.
Close the top deck and add lantern posts
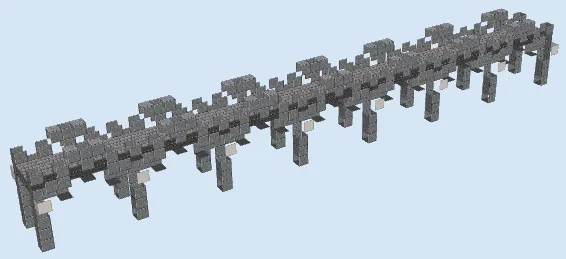
Layers 4–6 of 6Complete layers 4 through 6 by bridging the center gap with Stone Slabs, Andesite Slabs, Cobblestone Slabs, and Mossy Cobblestone Stairs to form a walkable crest. Raise the low side parapets along the upper arch using stairs and slabs so the bridge has a sturdy profile.
Set the remaining Andesite Wall and Mossy Cobblestone Wall posts along the sides of the walkway and top all four posts with Lanterns.
Finishing touches
Blend the two ends of the bridge into your riverbank with coarse dirt, gravel, and extra moss, and let water flow underneath the central arch. A few ferns, tall grass, or glow berries hanging beneath the stone span will help tie the structure into its surroundings.
Frequently Asked Questions
Can a boat fit under this bridge?
The central arch is quite low and best suited for shallow creeks; if you want to row a boat underneath, raise the abutment foundations by two blocks before starting the arch.
How do I craft the mossy blocks in survival?
Combine Cobblestone with either Vines or a Moss Block in your crafting grid to make Mossy Cobblestone, then use a Stonecutter to turn it into stairs, slabs, and walls without wasting blocks.