What you are building
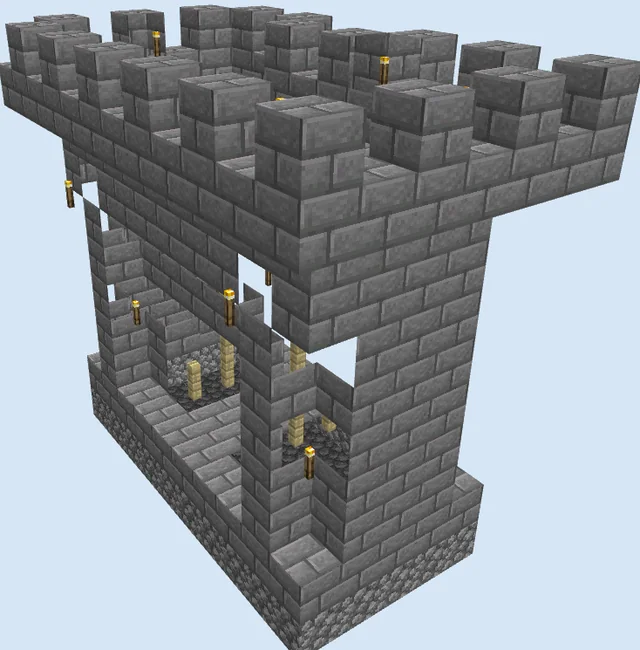
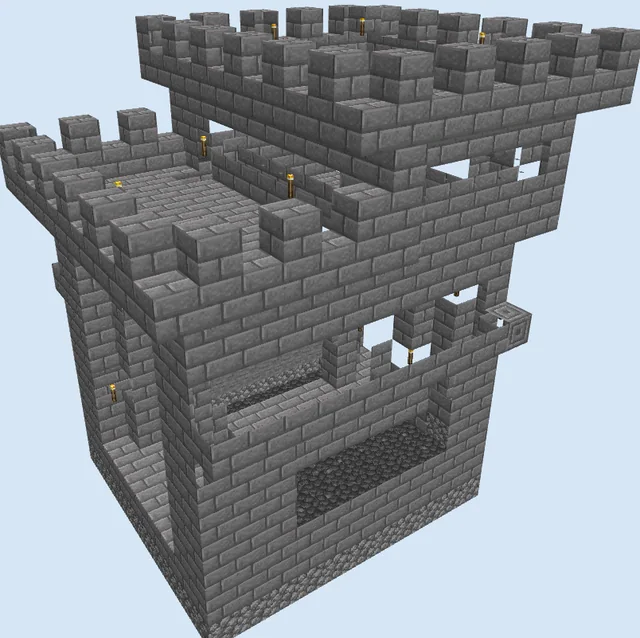
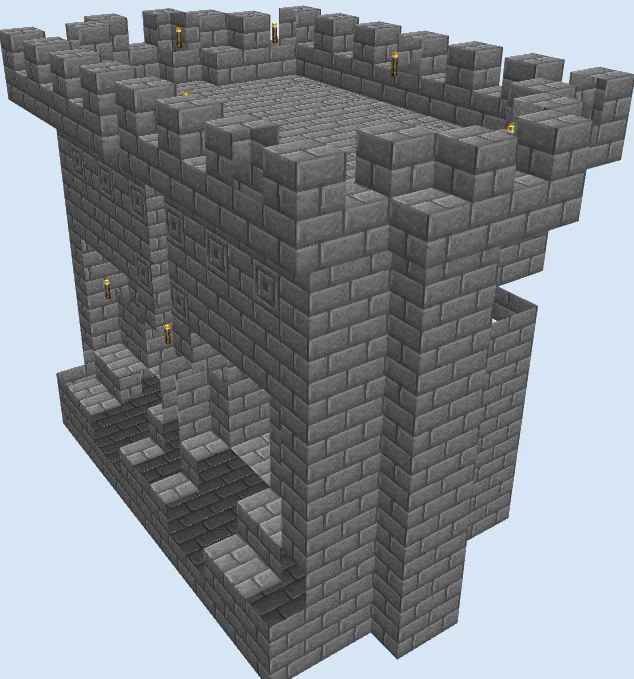
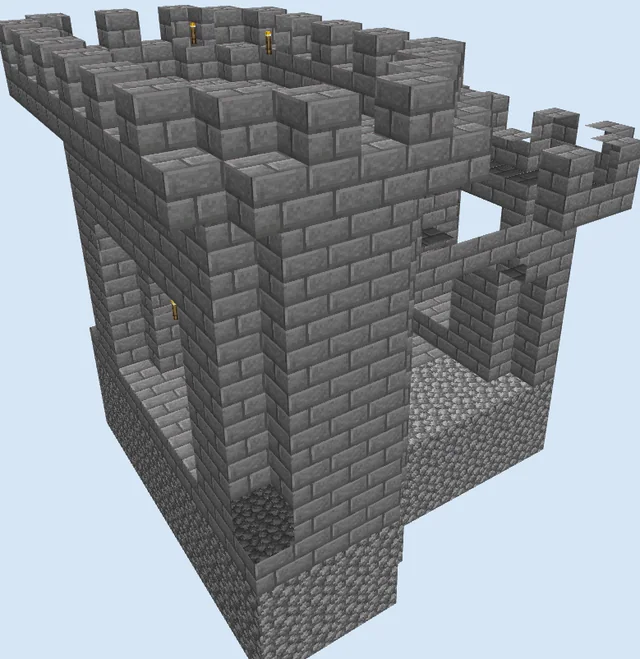
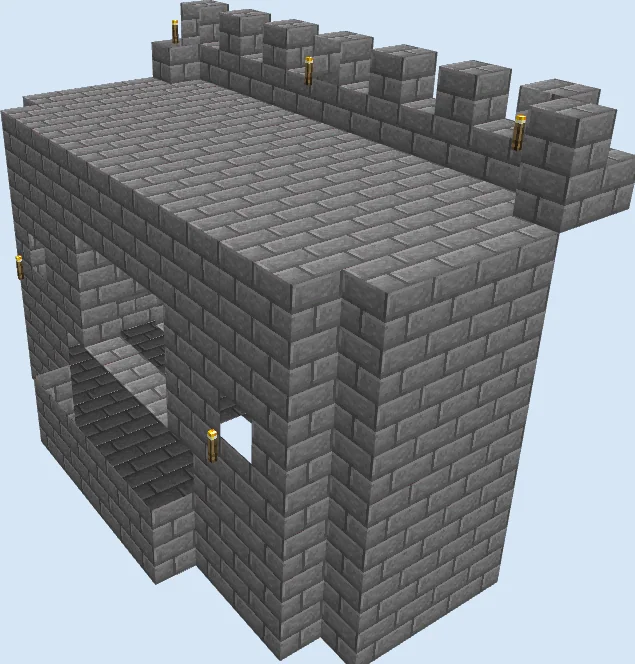
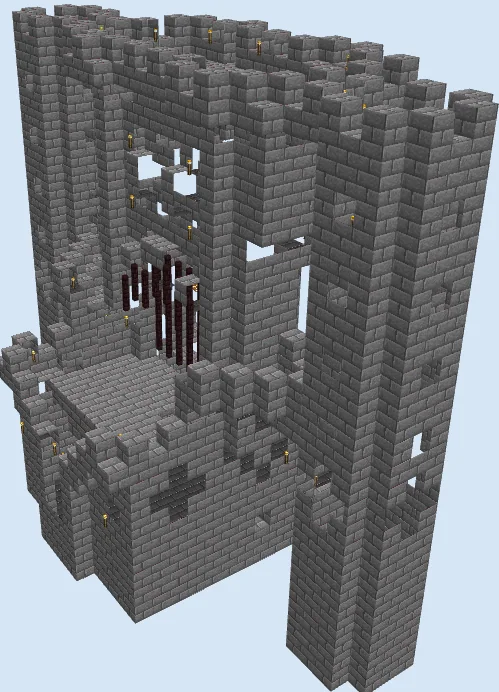
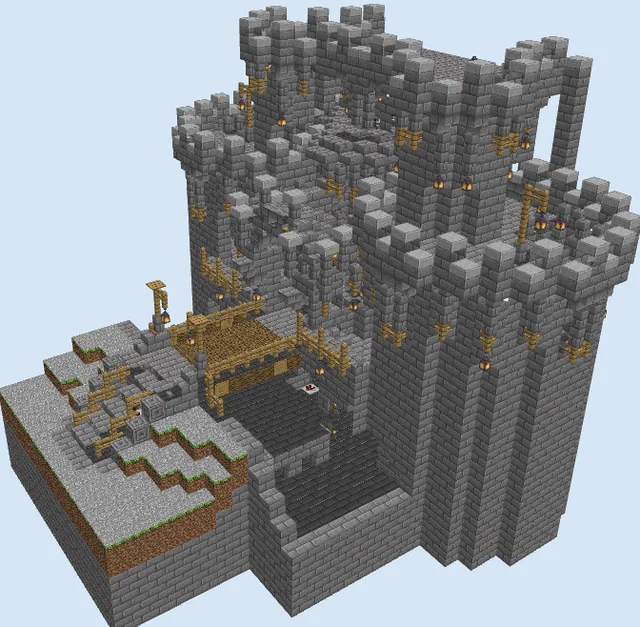
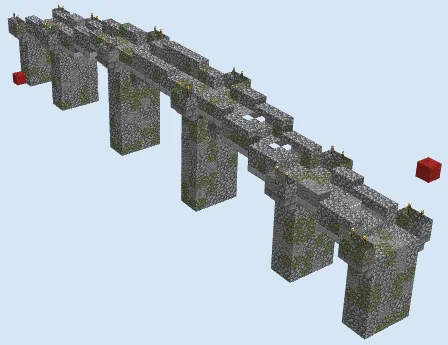
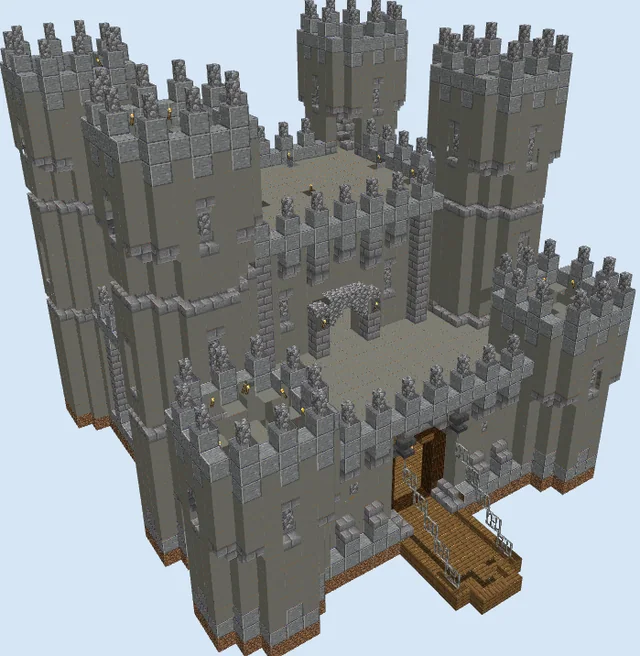
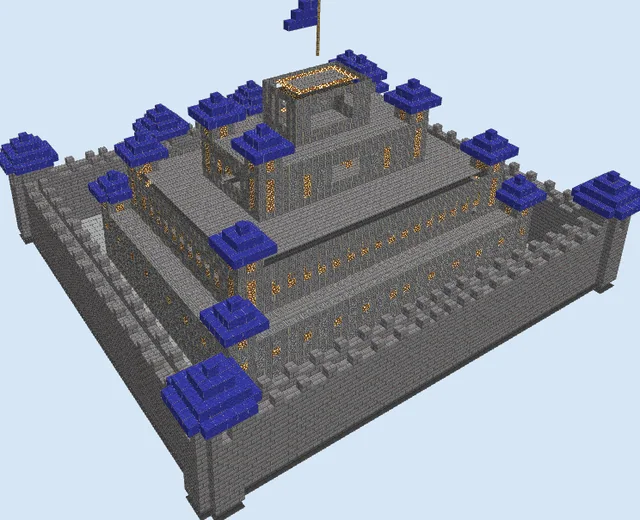
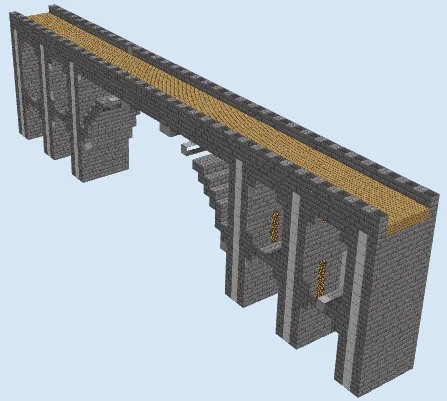
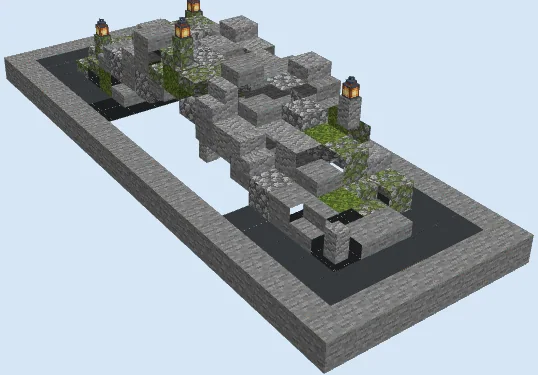
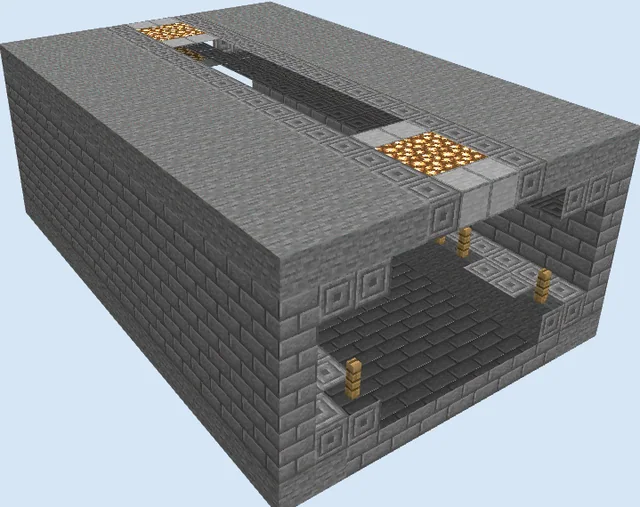
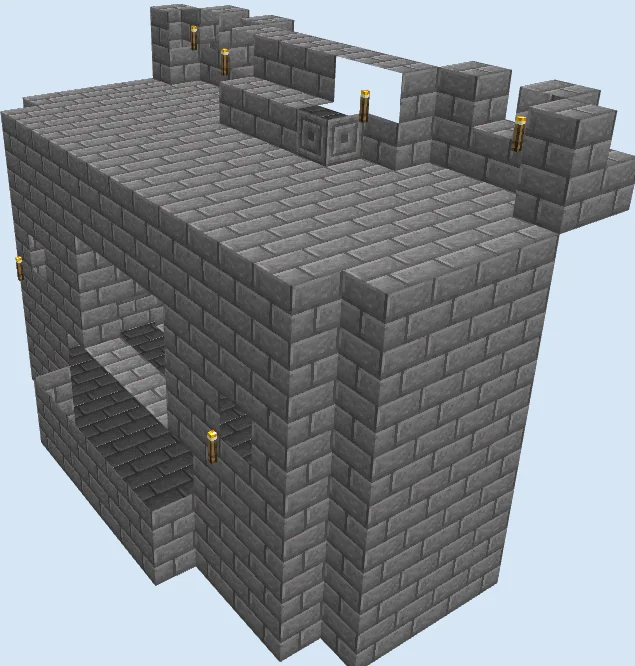
This compact medieval gatehouse delivers heavy-duty defense in an efficient footprint. Built from sturdy layers of stone bricks, the structure features a fortified access tunnel, reinforced side buttresses, and an elevated rooftop parapet lined with defensive battlements. The compact enclosure houses pistons and redstone circuitry, transforming a standard castle wall segment into a secure, mechanized security checkpoint.
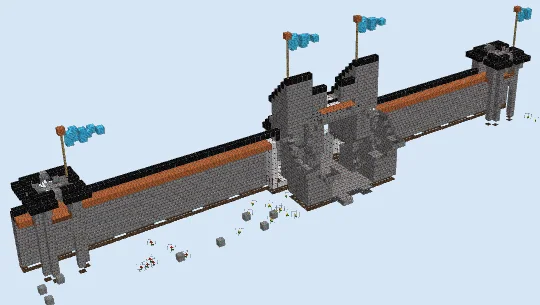
Designed to integrate seamlessly into curtain walls, mountain pass forts, or walled village perimeters, this gatehouse serves as the primary barrier against hostile mobs and intruders. It is an ideal weekend project for survival builders looking to add authentic castle architecture and mechanical function to their base entrance.
Materials 682 blocks · 15 types
- Stone Bricks5608 stacks + 48
- Redstone Wire28
- Stone Brick Stairs24
- Stone Brick Slab19
- Iron Bars12
- Torch12
- Repeater6
- Sticky Piston4
- Stone4
- Stone Pressure Plate4
- Redstone Torch2
- Stone Button2
- Cobblestone Wall2
- Dispenser2
- Chiseled Stone Bricks1
Block palette
The core construction relies heavily on Stone Bricks, paired with Stone Brick Stairs and Stone Brick Slabs to shape clean crenellations and reinforced trim. Accent details like Chiseled Stone Bricks and Iron Bars lend an authentic fortress look, while simple Torches keep the battlements well lit.
If you prefer a darker or weathered fortress look, you can easily swap the stone brick palette for Deepslate Bricks or mix in Cracked Stone Bricks and Mossy Stone Bricks to reflect centuries of history.
Lay the Foundation and Lower Mechanism
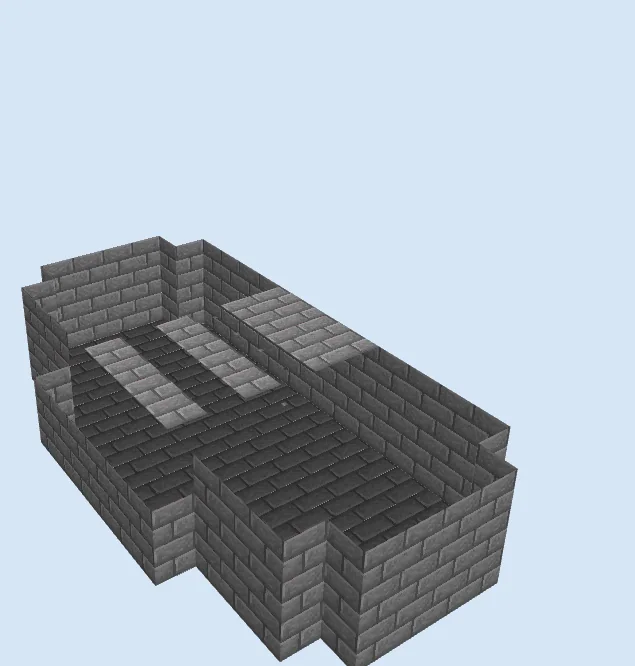
Layers 1–3 of 10Outline the 9x14 footprint using Stone Bricks, establishing the outer exterior walls and the lowered entryway trench. Leave interior recesses open along the central channel to prepare space for the sticky pistons, redstone wiring, and repeaters that power the drawbridge system.
Raise the Walls and Interior Chambers
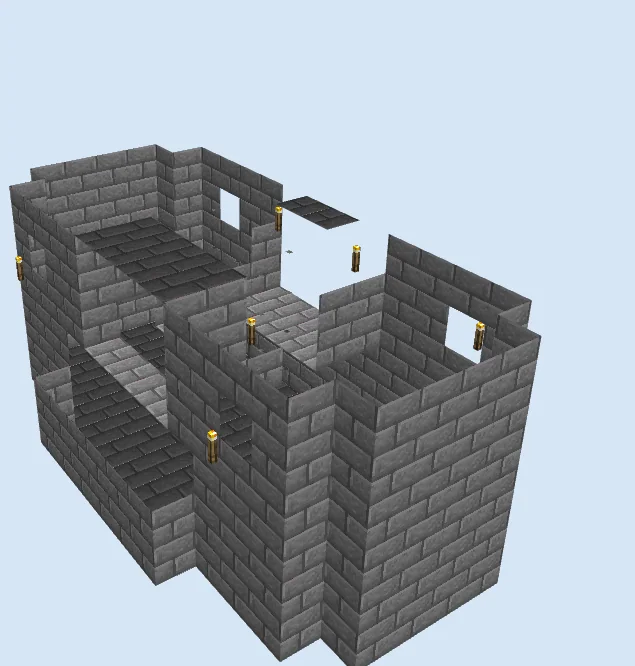
Layers 4–6 of 10Extend the stone brick walls upward to mid-height, framing the central archway opening and hollow side columns. Mount Torches along the interior posts and inner chambers to maintain high light levels, and begin bridging across the ceiling of the gate passage.
Cap the Roof and Build Battlements
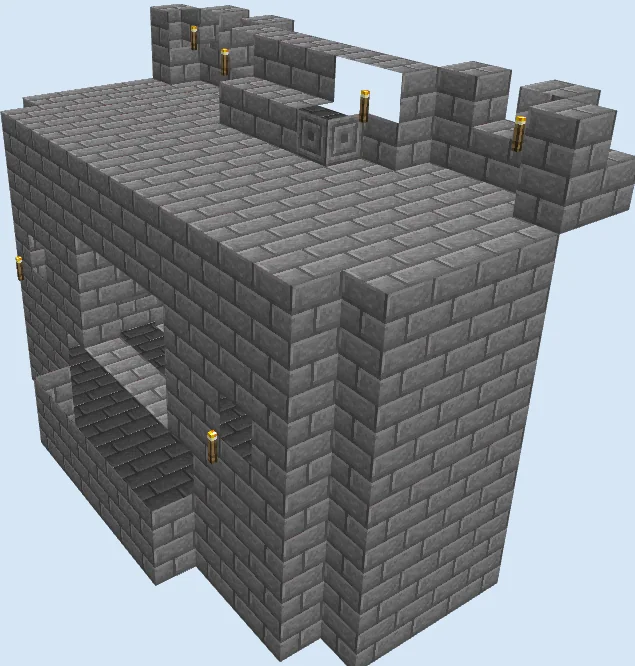
Layers 7–10 of 10Seal the main ceiling using Stone Bricks and Stone Brick Slabs to form a flat parapet walk. Along the elevated rear edge, assemble crenellations using alternating stone brick blocks and Stone Brick Stairs, featuring a central Chiseled Stone Bricks block flanked by perimeter torches.
Finishing touches
To finish the gatehouse, link its exterior flanks directly into your castle curtain walls and carve a deep trench or water moat right in front of the gate opening. Complete the mechanical setup by placing your pressure plates or stone buttons at both entry approaches, and add hanging lanterns or banners along the stone facade for extra regal flair.
Frequently Asked Questions
Can I connect this gatehouse to taller castle walls?
Yes, you can easily extend the side stone brick pillars higher or tie your wall parapet walk directly into the rooftop battlement platform.
What controls the working drawbridge mechanism?
The setup utilizes internal sticky pistons wired to repeaters, triggered by stone pressure plates or buttons placed at the entryway threshold.