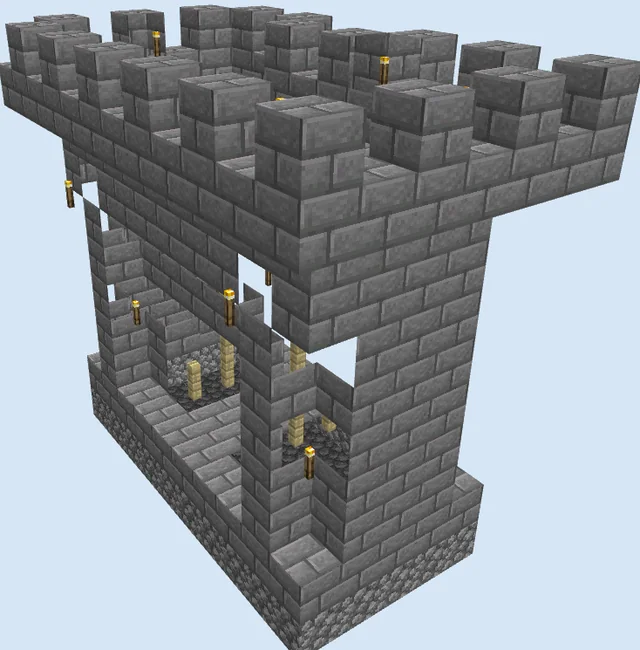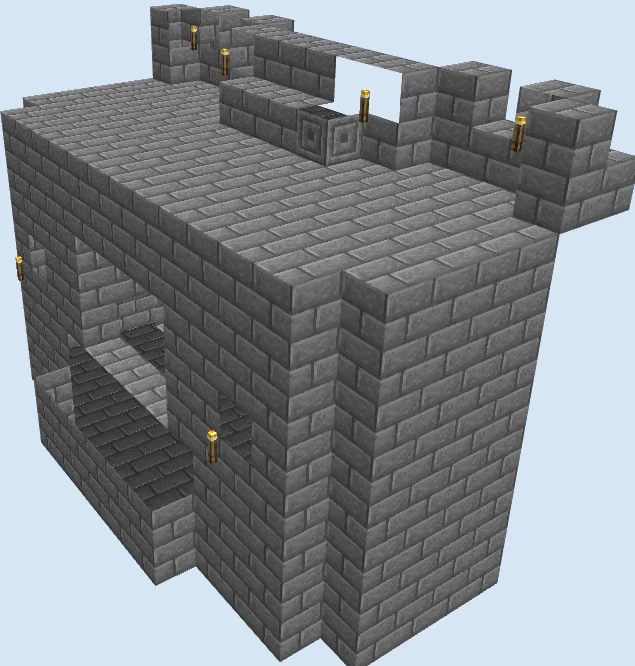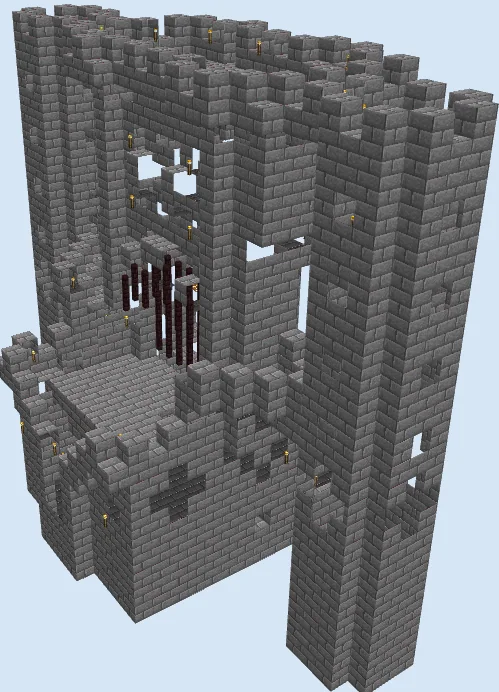
What you are building
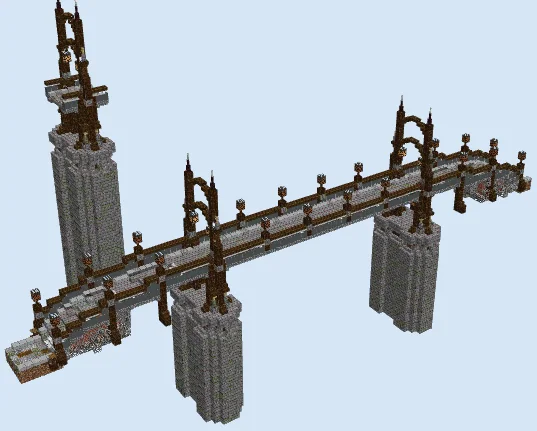
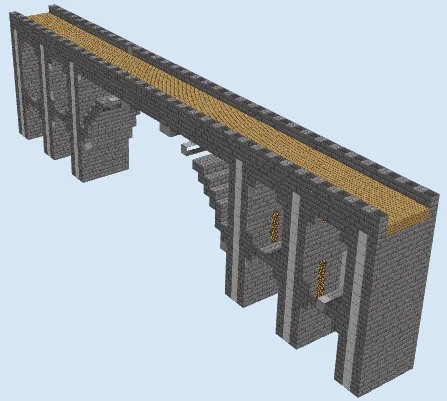
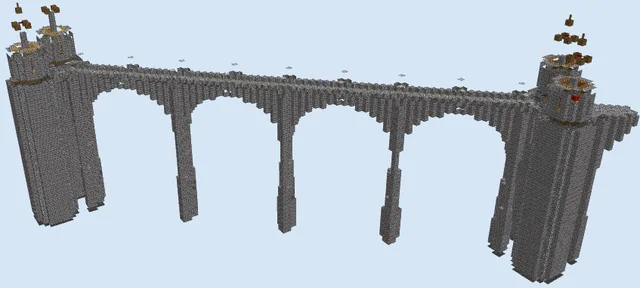
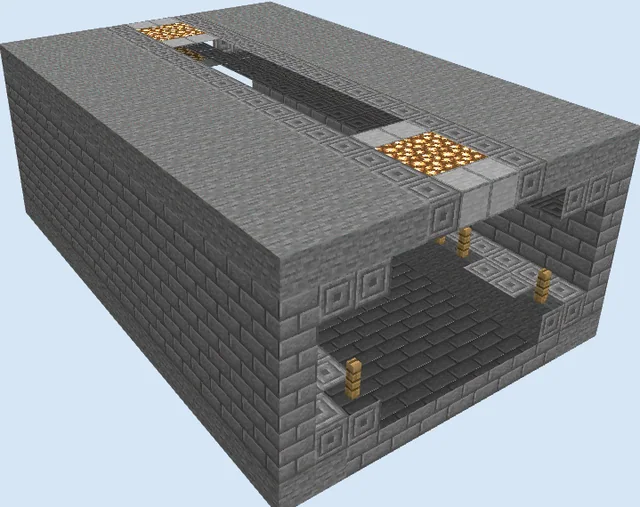
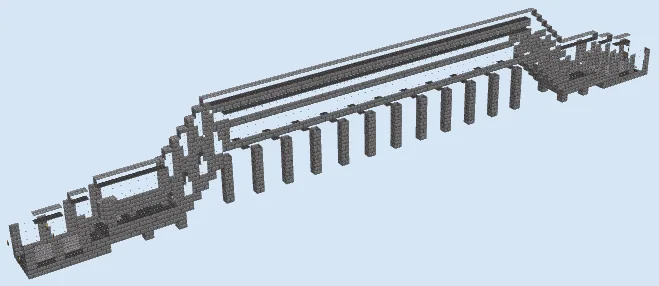
This impressive structure serves as a professional-grade transit hub for your Minecraft world. With its robust stone brick frame and integrated rail system, it offers a functional way to navigate across water or deep ravines while maintaining a cohesive look.
It is perfect for players looking to connect their base to distant resource outposts or villages. The enclosed station design ensures your minecarts are protected from elements and mobs, making it an excellent utility build for any survival server or long-term world project.
Materials 2,423 blocks · 11 types
- Stone Bricks91314 stacks + 17
- Stone Brick Stairs67010 stacks + 30
- Iron Bars4567 stacks + 8
- Stone Brick Slab2043 stacks + 12
- Jack O Lantern771 stack + 13
- Rail49
- Powered Rail22
- Redstone Torch14
- Torch8
- Oak Button6
- Iron Door4
Block palette
The palette relies on sturdy Stone Bricks, Stone Brick Stairs, and Slabs to create a classic, resilient look that fits perfectly in any medieval or industrial landscape. Iron Bars are used to provide visibility and structure without adding unnecessary bulk.
If you prefer a different look, you can swap the Stone Bricks for Deepslate Bricks for a darker, more modern aesthetic, or use Cobblestone if you are building this early in your survival journey.
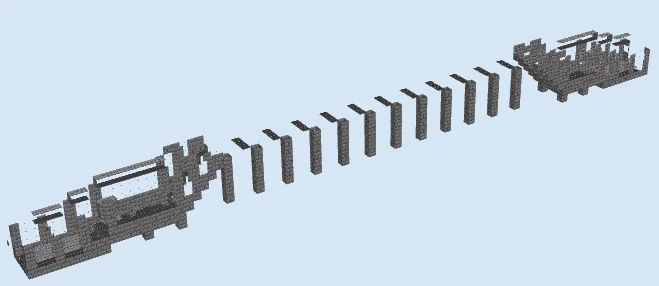
Establish the Foundation and Support Pillars
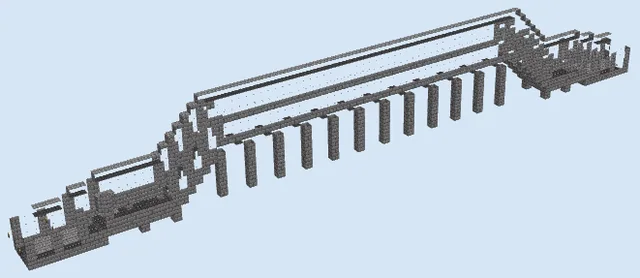
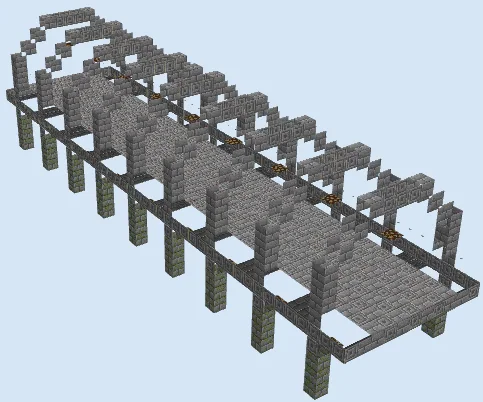
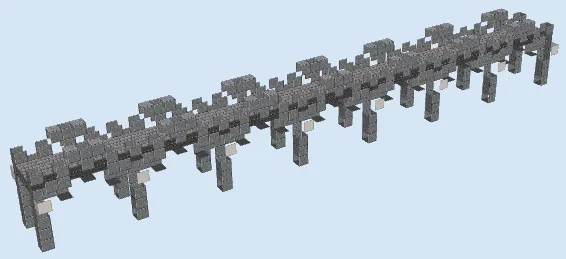
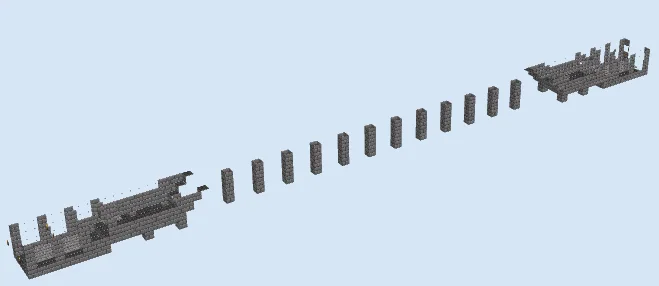
Layers 1–4 of 14Begin by mapping out the long line of your bridge. Place the solid Stone Brick columns at regular intervals to create the support pillars that will elevate your structure above the ground or water.
On one end, start constructing the base layer of the enclosed station. This area will eventually house your boarding platform and the starting rails for your minecart system.
Lay the Decking and Rail Supports
Layers 5–8 of 14Connect your pillars using Stone Brick Slabs to form the walking deck and track bed. Ensure these are aligned perfectly to support the rail path.
Extend the Stone Brick platform at the station area. This will serve as the floor for your enclosed waiting zone, providing enough space for your rail lines to curve or branch out as needed.
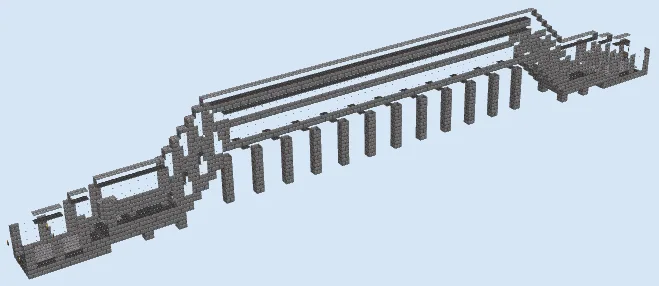
Install Walls, Roof, and Rail Infrastructure
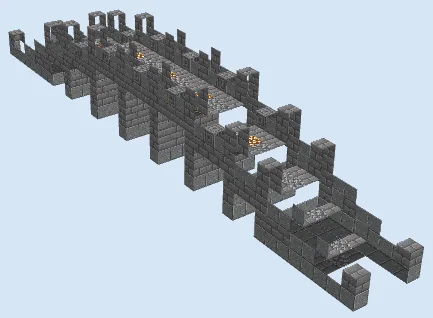
Layers 9–14 of 14Construct the final walls and roof using Stone Brick Stairs and Iron Bars to enclose the bridge and station, ensuring it is mob-proof. Complete the look by installing the Rail and Powered Rail lines across the length of the bridge.
Finally, place your Redstone Torches to power the rails and add Jack O Lanterns and Oak Buttons for functional lighting and decorative detail within the station area.
Finishing touches
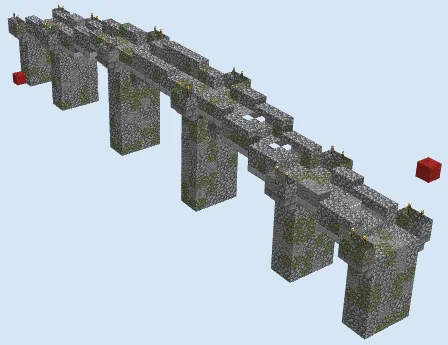
Add final details by placing torches along the exterior railings to keep the area spawn-proof at night. You can also incorporate landscaping around the support pillars, such as water features or patches of tall grass and bushes, to blend the structure into the natural environment.
Frequently Asked Questions
Can I extend this bridge indefinitely?
Yes, the modular design of the pillars and bridge deck allows you to copy and paste sections to span any distance in your world.
Do I need redstone knowledge to make this work?
Not at all! As long as you place the Powered Rails and Redstone Torches as indicated in the material list, your minecarts will have plenty of momentum to travel the whole way.