What you are building
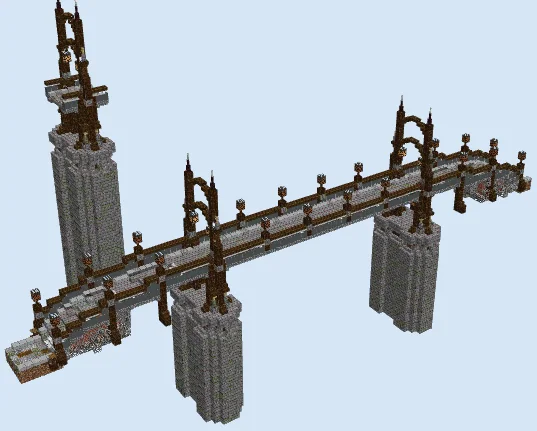
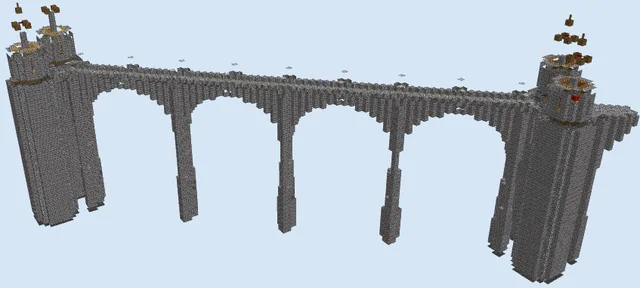
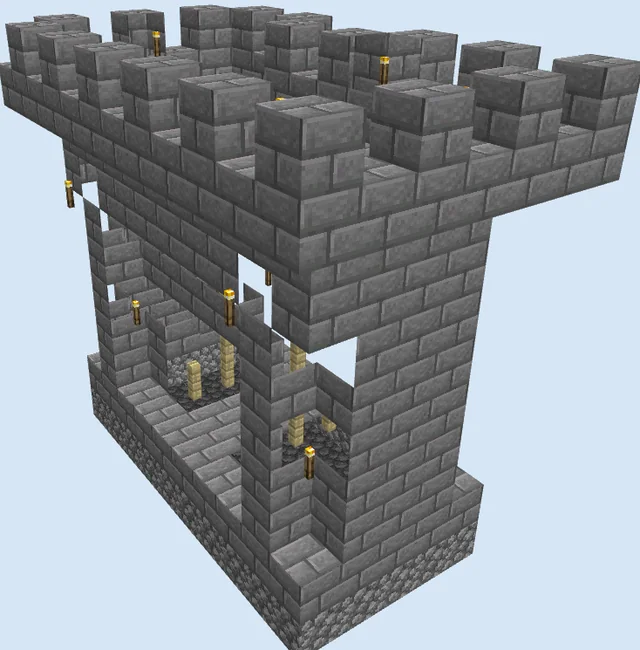
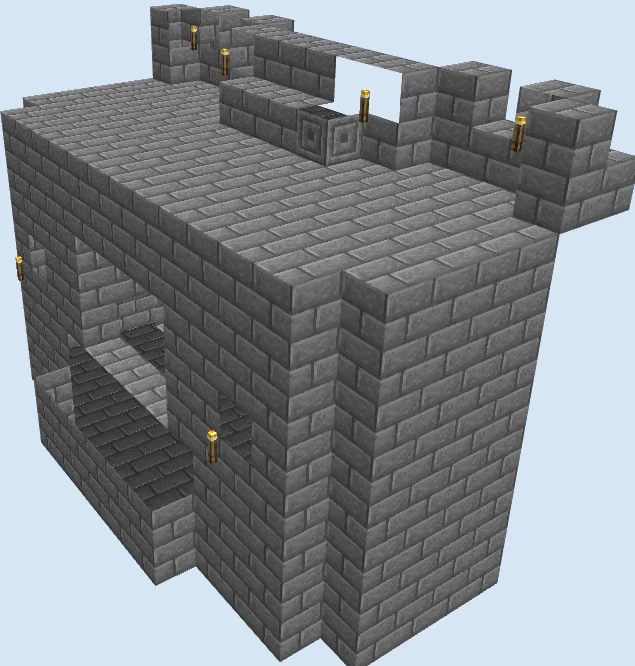
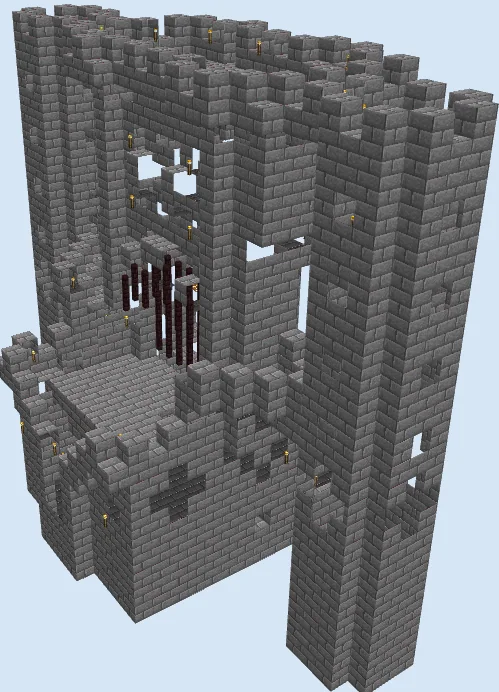
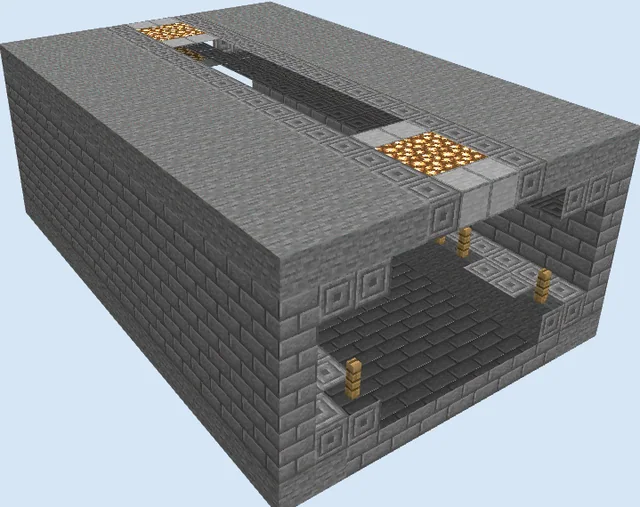
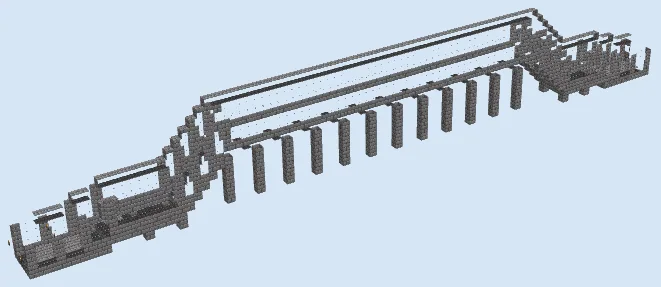
Long-distance travel in survival mode often demands reliable, mob-proof infrastructure, especially when crossing deep chasms, oceans, or jagged mountain ranges. This covered stone brick minecart viaduct stretches nearly a hundred blocks across, combining sturdy stone support pillars with fully sheltered passenger terminals at both ends. Its narrow profile keeps material costs manageable while offering complete defense against phantoms, skeletons, and accidental falls.
Aesthetically, the build blends the fortress-like presence of medieval stonework with practical transport engineering. It fits naturally between two cliffside castles, connecting distant mountain outposts, or linking a main village to an underground mining facility. Any player looking to upgrade their world with a scenic yet functional railway transit network will find this design easy to replicate and extend.
Space your Powered Rail pieces every twenty to thirty blocks on flat stretches to maintain top minecart cruising speed without wasting gold ingots.
Because the bridge is only five blocks wide, you can easily mirror the design or stretch the middle pillar section across any ravine distance to fit your world's exact terrain.
Materials 2,423 blocks · 11 types
- Stone Bricks82312 stacks + 55
- Stone Brick Stairs76011 stacks + 56
- Iron Bars4567 stacks + 8
- Stone Brick Slab2043 stacks + 12
- Jack O Lantern771 stack + 13
- Rail49
- Powered Rail22
- Redstone Torch14
- Torch8
- Oak Button6
- Iron Door4
Block palette
The build relies heavily on Stone Bricks and Stone Brick Stairs to provide a rigid, weathered masonry look that stands strong against the elements. Slender vertical panels made of Iron Bars line the walls, allowing panoramic views of the terrain below while preventing players and minecarts from falling out. Concealed Jack O Lanterns ensure full illumination throughout the enclosed corridor to stop hostile mobs from spawning on the tracks.
If stone bricks feel too uniform for your biome, swap them out for Deepslate Bricks or Mud Bricks for a darker, more aged texture. You can also replace the iron bars with Glass Panes or wooden fences depending on whether you want an industrial look or a rustic open-air sky bridge.
Erect the pillars and station bases
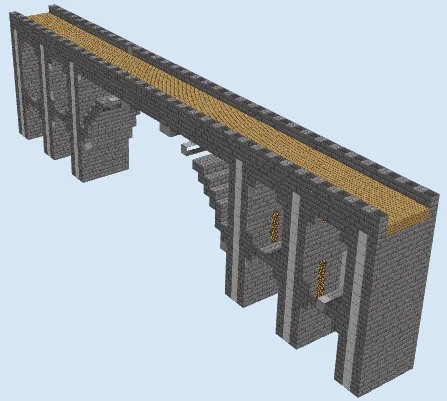
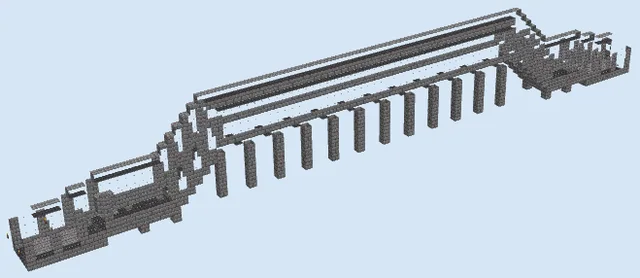
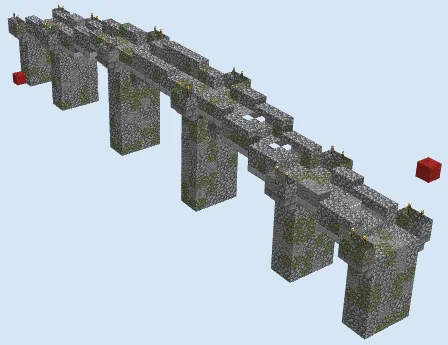
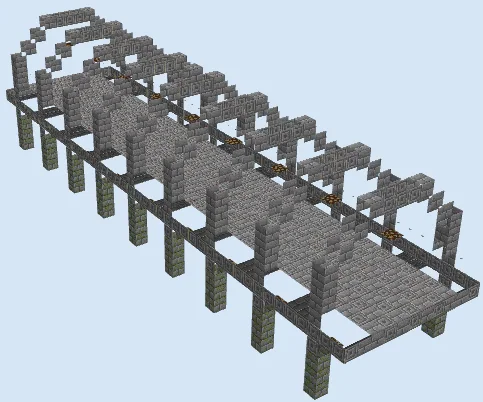
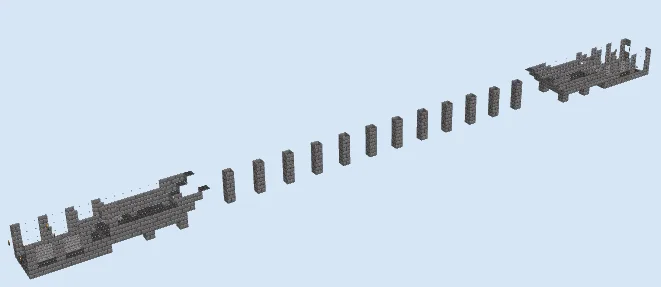
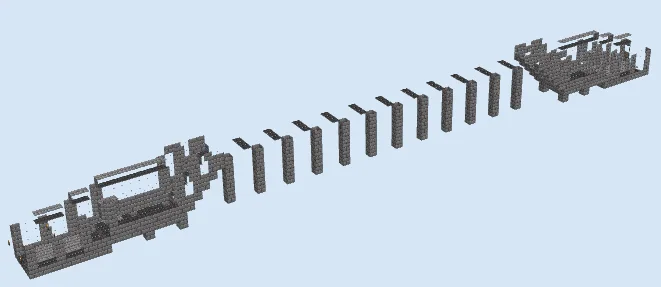
Layers 1–4 of 14Begin by laying out the ground footprints for both terminal stations at each side of the crossing, anchoring them with solid Stone Bricks. Map out the gap between the stations and raise evenly spaced vertical support pillars using stone bricks, ensuring they reach down to your canyon floor or water surface.
Frame the walls and track bed supports
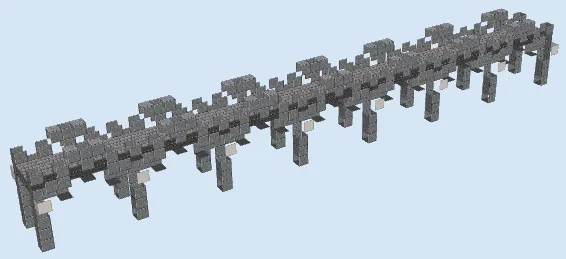
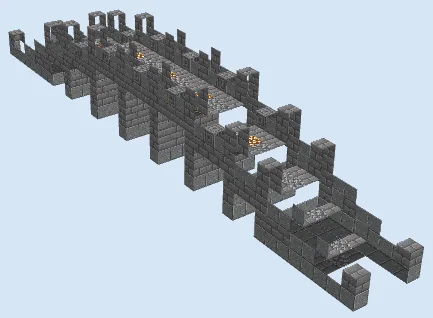
Layers 5–8 of 14Extend the vertical columns higher and cap them with transverse brackets to support the elevated rail deck. At both terminal ends, raise the exterior station walls to chest height, framing out the entry alcoves, doorways, and stair transitions that lead passengers up onto the central bridge span.
Enclose the corridor and lay the rails
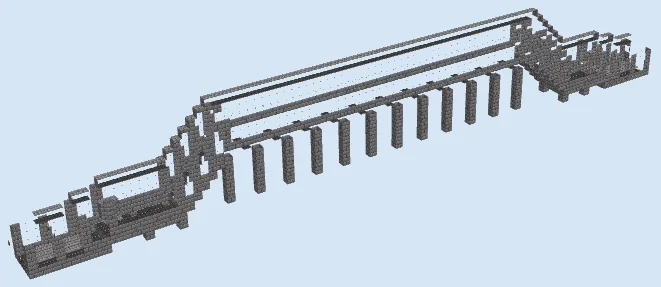
Layers 9–14 of 14Install long continuous runs of Iron Bars along both sides of the bridge to create safety windows that let in daylight. Place Jack O Lanterns along the deck to keep the path lit, then lay down your transit line using alternating Rail and Powered Rail segments powered by concealed Redstone Torches. Finish the structure by capping the roofline with Stone Brick Stairs and Stone Brick Slabs to seal off the top.
Finishing touches
Integrate both bridge approaches smoothly into the surrounding cliffsides by blending the stone bases with coarse dirt, cobblestone outcrops, and leafy hanging vines. Mount wall lanterns at each station door and install push-button minecart dispensers at the platforms to ensure effortless automated departures.
Frequently Asked Questions
Will hostile mobs spawn inside the covered bridge?
No, the integrated Jack O Lanterns and torches maintain light levels well above the hostile mob spawning threshold across the entire length of the tracks.
Can I adapt this design for foot traffic instead of minecarts?
Yes, simply remove the rails and replace the center lane with stone brick slabs, polished andesite, or wooden planks to create a safe pedestrian walkway.