What you are building
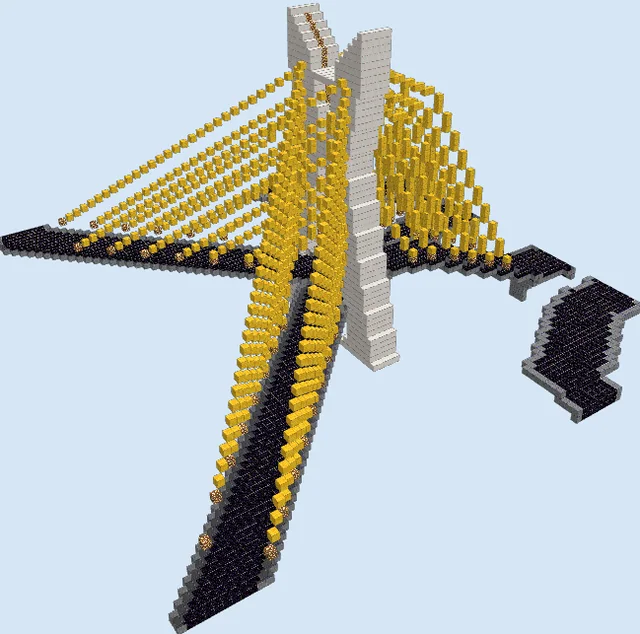
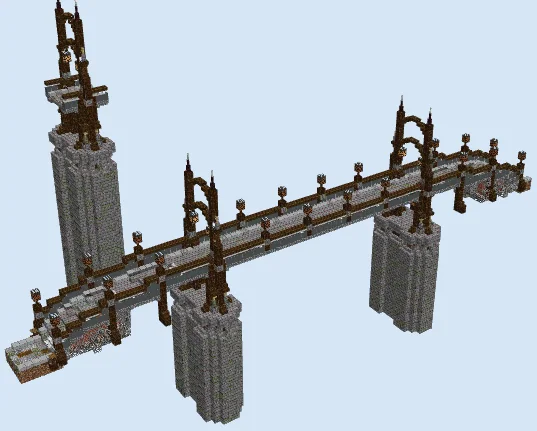
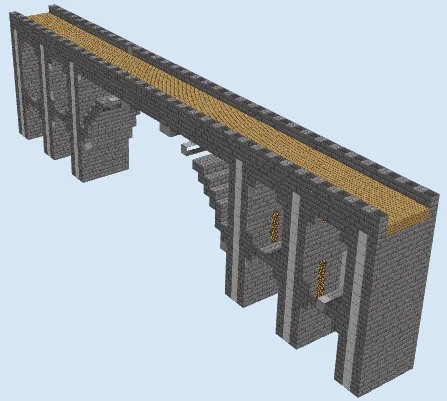
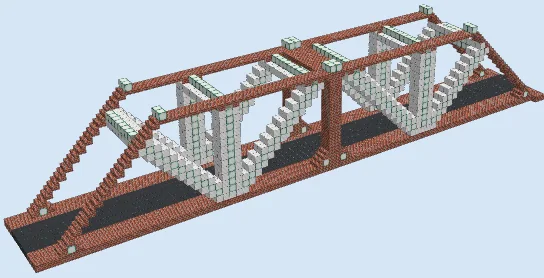
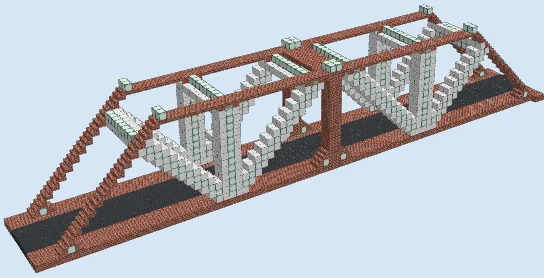
Engineered for sprawling transport networks, this industrial through-truss bridge makes an impressive statement across wide rivers, oceanic channels, or deep ravines. The structure features a smooth dark roadway bordered by sturdy brickwork, anchored by massive center towers and diagonal end supports. Luminous white trusses made from iron blocks and sea lanterns crisscross overhead in a classic girder pattern, giving the entire span both functional strength and architectural flair.
This design fits naturally into modern city outskirts, steampunk factory sectors, or rail-linked survival bases connecting distinct industrial districts. Its clean lines and built-in lighting keep mob spawns completely under control while providing a secure thoroughfare wide enough for horse traffic, minecarts, or heavy cargo aesthetics.
Because the trusses contain 400 Sea Lanterns, the bridge deck is naturally spawn-proof at night without adding any visible clutter like torches or lanterns.
The deck is 5 blocks wide along the asphalt section, making it an ideal width to lay dual-track minecart lines or a separated pedestrian walkway.
Materials 2,574 blocks · 6 types
- Bricks67210 stacks + 32
- Iron Block67210 stacks + 32
- Gray Concrete5107 stacks + 62
- Sea Lantern4006 stacks + 16
- Brick Stairs1602 stacks + 32
- Brick Slab1602 stacks + 32
Block palette
The build relies on a striking contrast between warm Bricks and crisp white Iron Blocks. A foundation of Gray Concrete serves as an asphalt deck, while 400 Sea Lanterns integrated directly into the structural trusses illuminate the roadway from all angles without needing loose torches.
If you are building in early survival where iron and prismarine are scarce, you can easily substitute the Iron Blocks with Smooth Quartz or Polished Diorite, and swap Sea Lanterns for Glowstone, Shroomlights, or Redstone Lamps.
Lay the bridge deck and mounting pads
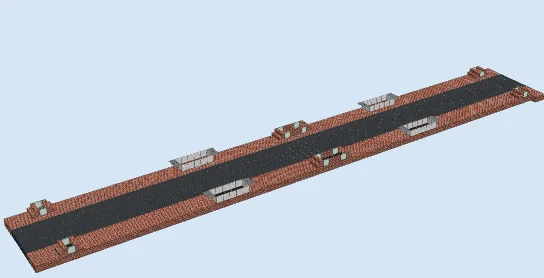
Layers 1–2 of 16Start by stretching out the 85-block roadway using Gray Concrete down the center, flanked on both edges by Bricks and Brick Slabs. Mark the bridge entry points, the center reinforcement piers, and the structural mounting pads using Bricks, Brick Stairs, and embedded Sea Lanterns along the outer rails.
Begin the arches and lower truss diagonals
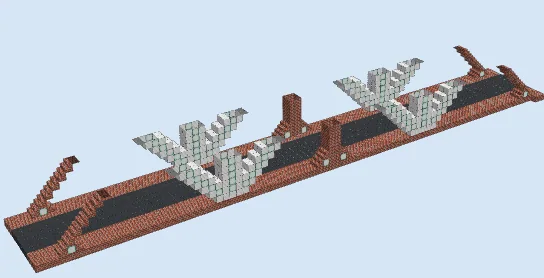
Layers 3–7 of 16Raise the stepped brick entrance ramps at both ends of the bridge using Brick Stairs and full Bricks. At the same time, erect the middle brick support pillars and begin building the lower V-shaped diagonal trusses on either side using alternating Iron Blocks and Sea Lanterns.
Extend the diagonal lattice framework
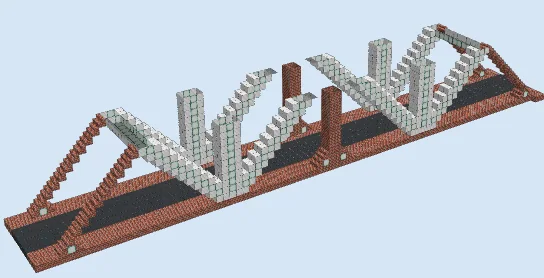
Layers 8–12 of 16Continue stacking the white truss beams upward to form expansive W-patterns along both flanks of the bridge. Extend the brick end arches higher toward their apex and raise the central dividing pillars toward their maximum structural height of layer 12.
Cap the upper spans and tie the crossbeams together
Layers 13–16 of 16Complete the upper span by joining the diagonal trusses into full overhead box girders. Bridge the gap between the two side walls using horizontal brick ties, transverse iron lintels, and Sea Lantern light bars across the top to lock the entire through-truss structure into place.
Finishing touches
Anchor both ends of the bridge into surrounding cliff faces or built-up stone embankments, then string minecart rails or painted concrete road markings along the center deck. Adding hanging chains or weathered stone supports beneath the span in the water below completes the heavy civil engineering look.
Frequently Asked Questions
Can I extend or shorten the length of this bridge?
Yes, the bridge is designed around repeating diagonal truss modules. You can shorten it by removing one pair of V-trusses or lengthen it by repeating the central tower and truss section.
How can I convert this into a railway bridge?
Simply replace the Gray Concrete center with wooden railway ties made from dark oak slabs and place powered rails along the span.