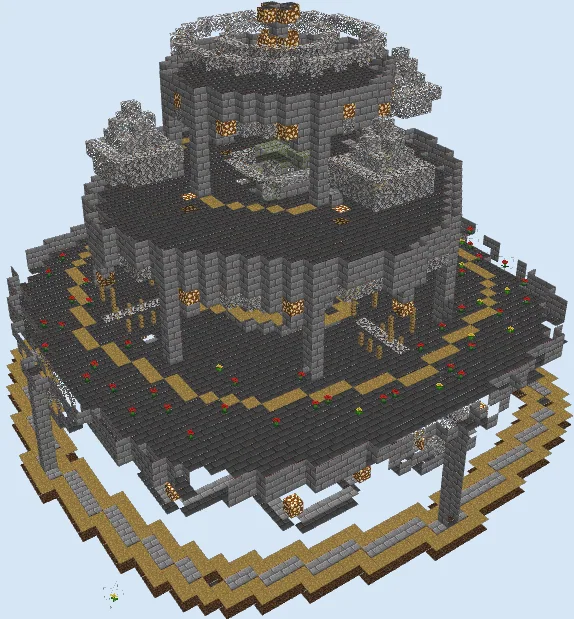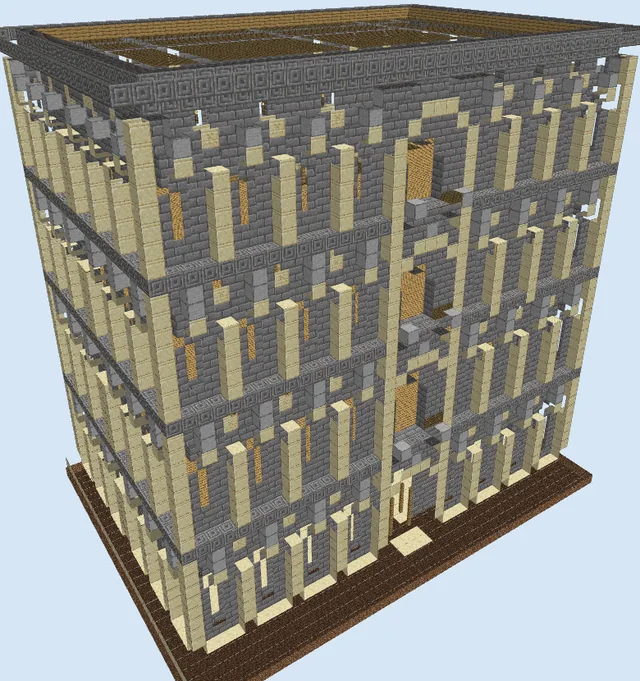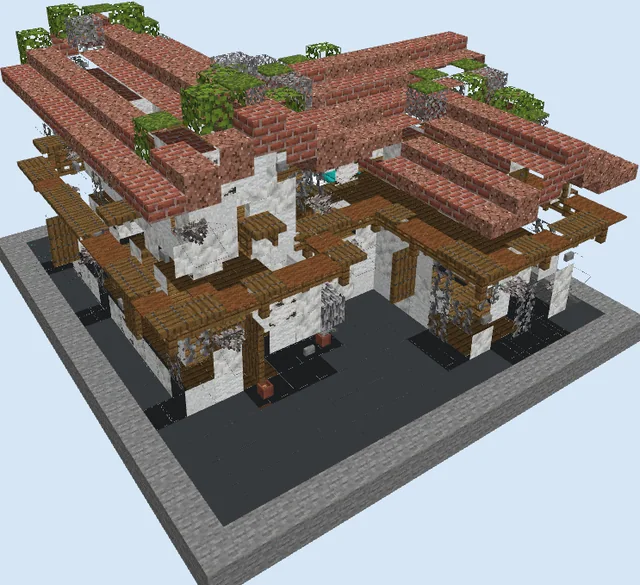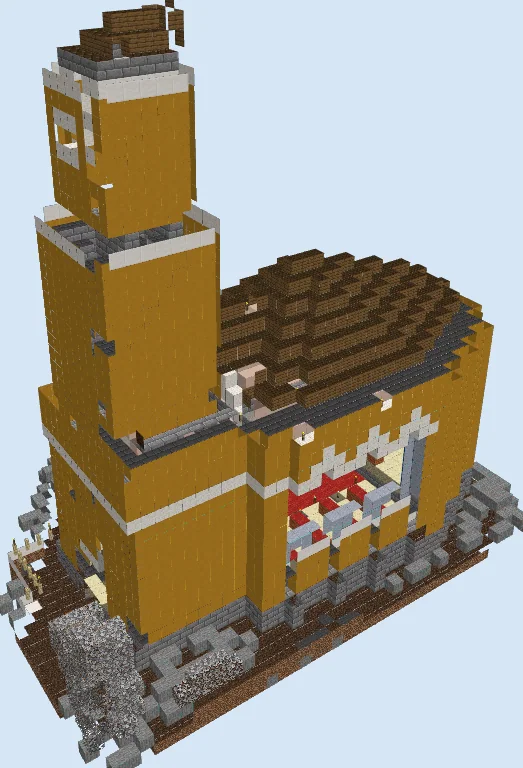
What you are building
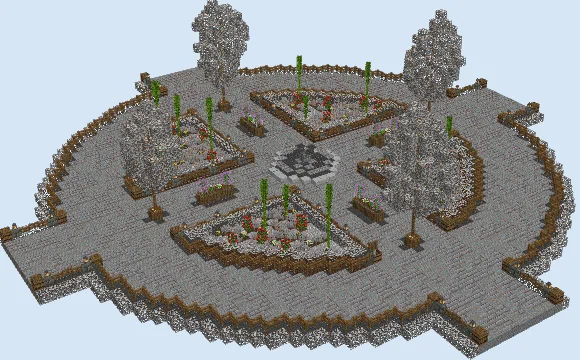
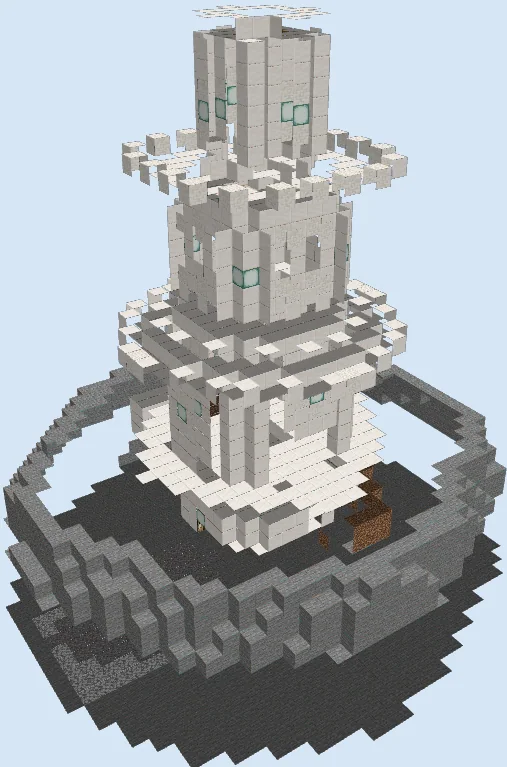
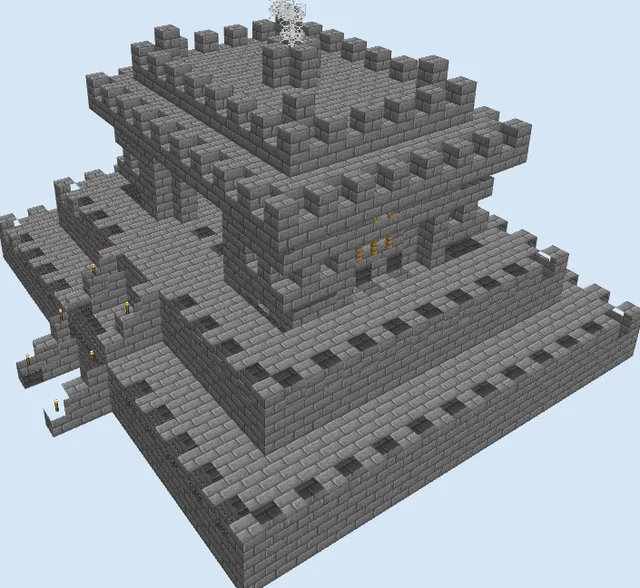
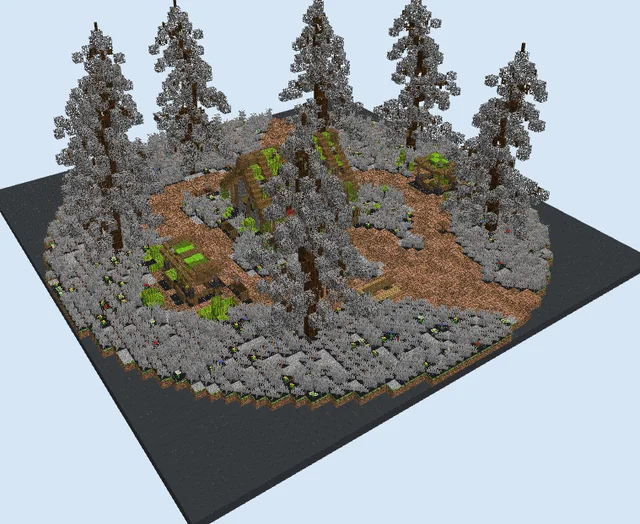
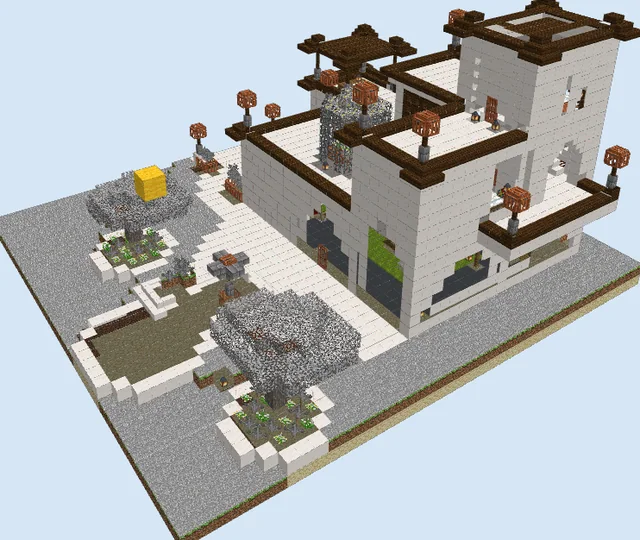
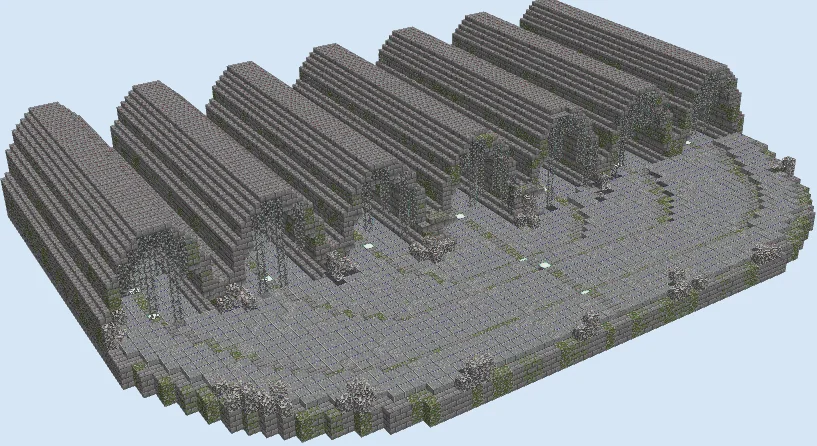
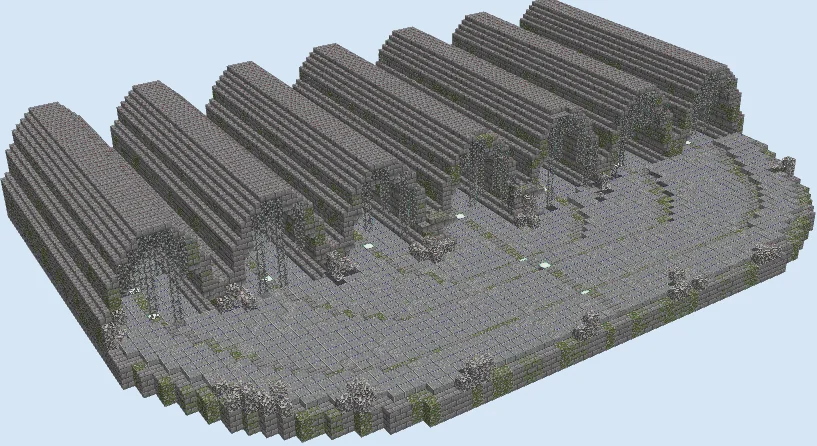
The Ancient Garden Structure is a majestic, wide-spanning build characterized by its series of repeating stone arches and a wide, textured floor. It evokes the feeling of a forgotten ruin or a grand ceremonial walkway from a lost civilization. The integration of mossy stone and vines gives it an aged, established aesthetic, making it look like it has stood for centuries.
This build fits perfectly in large open spaces, such as a grand courtyard of a castle, a sprawling garden, or as the centerpiece of a formal park. It is an ideal project for players who love detailed, structural builds and want to add a sense of history and scale to their survival world or creative map.
Materials 16,144 blocks · 15 types
- Stone Brick Stairs4,04863 stacks + 16
- Polished Andesite3,88260 stacks + 42
- Stone Bricks2,72842 stacks + 40
- Mossy Cobblestone1,36621 stacks + 22
- Mossy Stone Bricks1,35321 stacks + 9
- Stone Brick Slab93214 stacks + 36
- Vine83613 stacks + 4
- Polished Andesite Slab4587 stacks + 10
- Andesite2664 stacks + 10
- Sea Lantern891 stack + 25
- Oak Leaves771 stack + 13
- Andesite Slab741 stack + 10
- Mossy Cobblestone Slab21
- Mossy Stone Brick Slab13
- Glass1
Block palette
The palette relies on a blend of Stone Bricks, Polished Andesite, and Mossy variations to create a realistic, weathered look. The use of Sea Lanterns hidden within the structure provides a subtle, magical glow that enhances the nighttime aesthetic.
If you lack mossy blocks, you can easily swap them for standard Stone Bricks or Cobblestone. For a different look, you can substitute the Sea Lanterns with Glowstone or Shroomlights to match the surrounding biome's color palette.
Lay the stone foundation
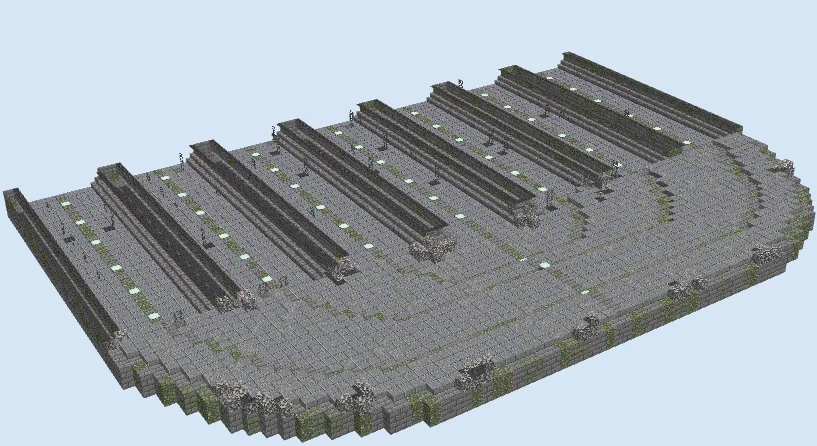
Layers 1–3 of 12Start by outlining the large, semi-circular floor plan using Stone Bricks and Polished Andesite. Incorporate Mossy Cobblestone and Mossy Stone Bricks randomly throughout the flooring to create a weathered texture.
Begin placing the vertical pillar bases for the arches, ensuring they are spaced evenly across the layout. Use Sea Lanterns as floor accents to define the central path.
Construct the arch frames
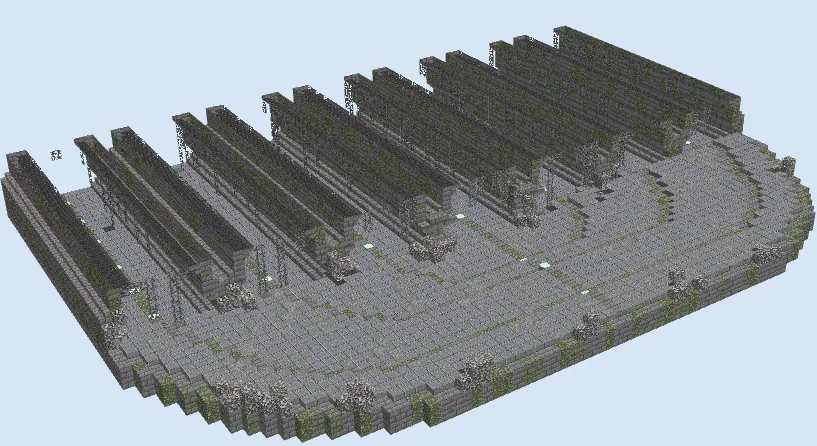
Layers 4–7 of 12Build up the structural frames for the series of arches using Stone Bricks and Polished Andesite. At this stage, focus on the curvature of the arches, layering Stone Brick Stairs to create smooth, rounded profiles.
Add support struts using Andesite to reinforce the height of each arch. Ensure the symmetry remains consistent across all sections as the structure begins to take shape.
Finalize arches and detailing
Layers 8–12 of 12Complete the roof of each arch by finishing the layering of Stone Brick Stairs and Stone Brick Slabs. This creates the rounded, barrel-vaulted look of the structure.
Apply the final decorative details by wrapping Vines around the stone pillars and arches. Add the final layer of Oak Leaves and remaining Stone Brick Slab detailing to the base to blend the structure into your garden landscape.
Finishing touches
To finish the build, add small flowering bushes or tall grass around the perimeter to soften the transition between the stone and the natural terrain. Use bone meal sparingly around the base to create a wild, overgrown look, and ensure the area is well-lit with hidden light sources to prevent mob spawns.
Frequently Asked Questions
Can I use this as a roof for my base?
Absolutely! The arched design provides a wonderful aesthetic for a storage room or a library area within a larger underground base.
What is the best biome for this build?
This structure looks best in temperate forests, plains, or flower forests, where the greenery contrasts beautifully with the grey stone palette.