What you are building
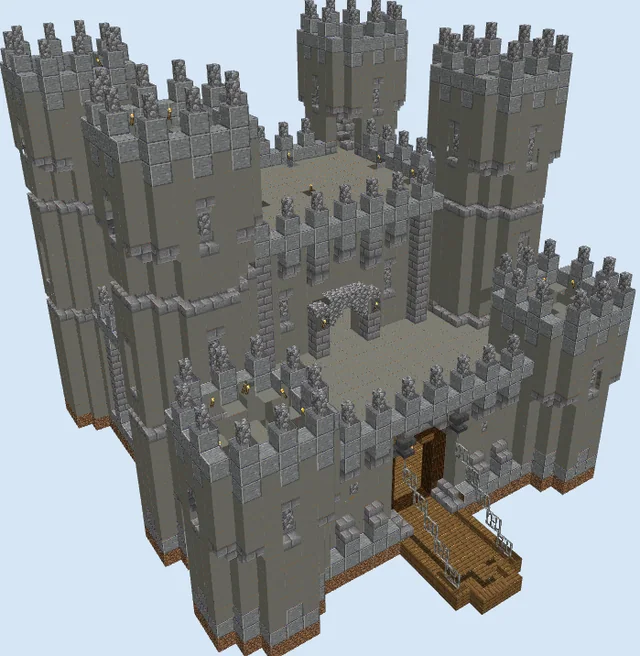
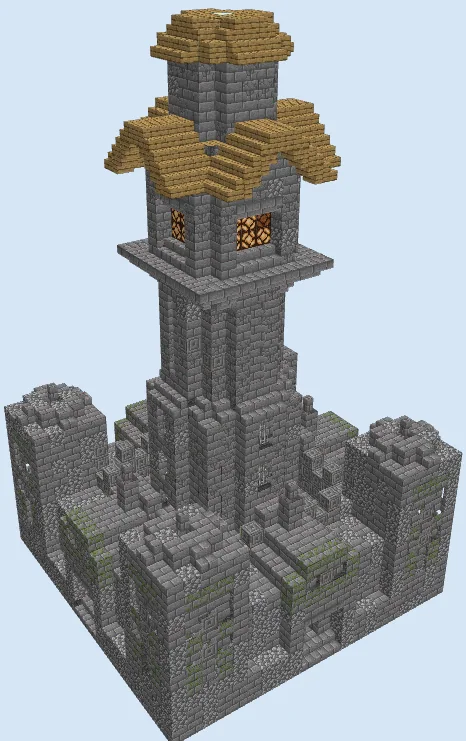
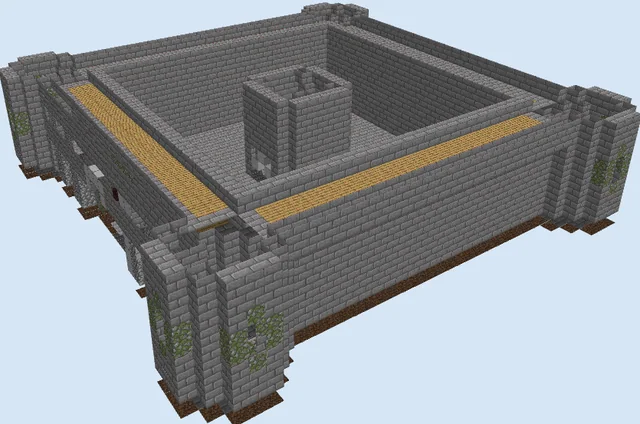
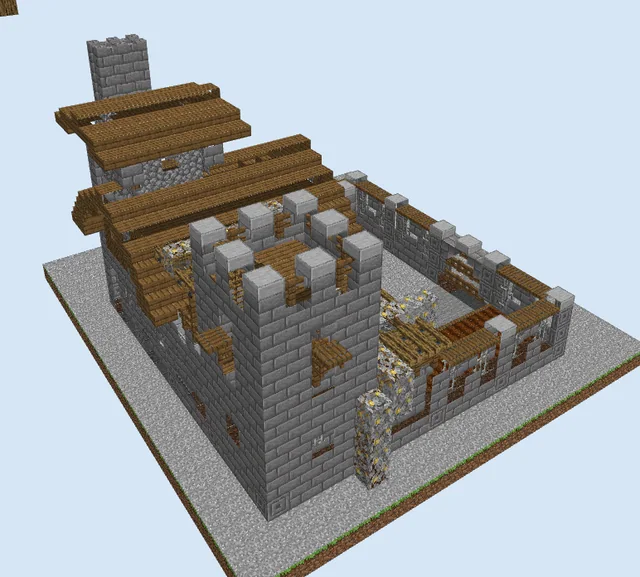
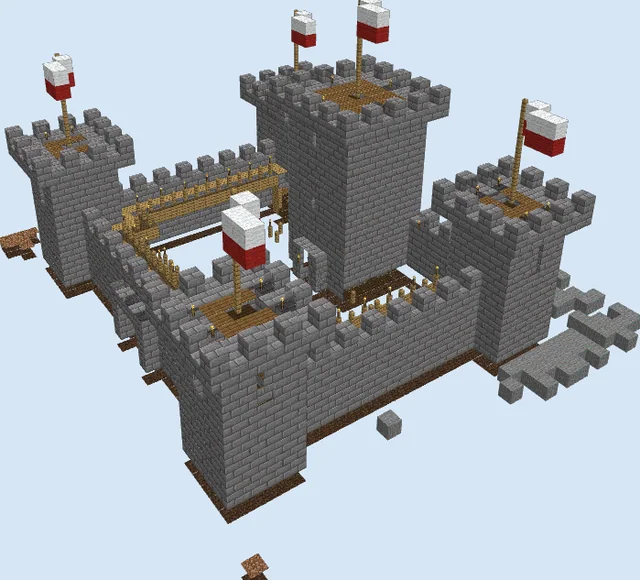
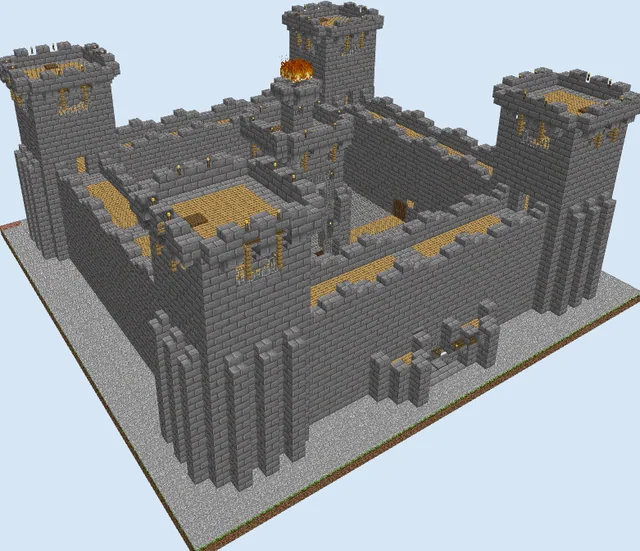
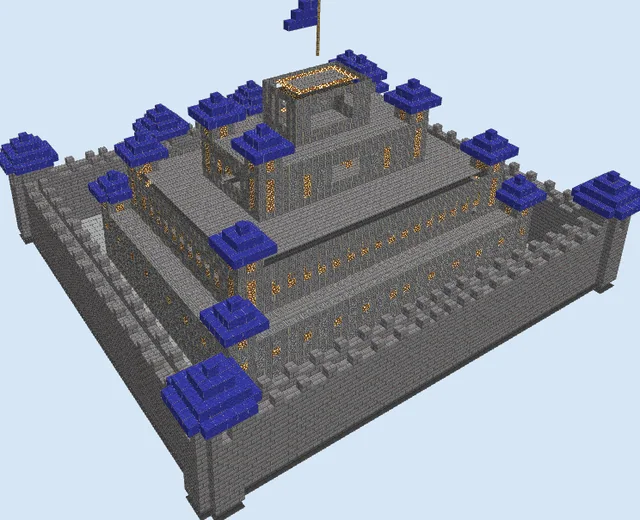
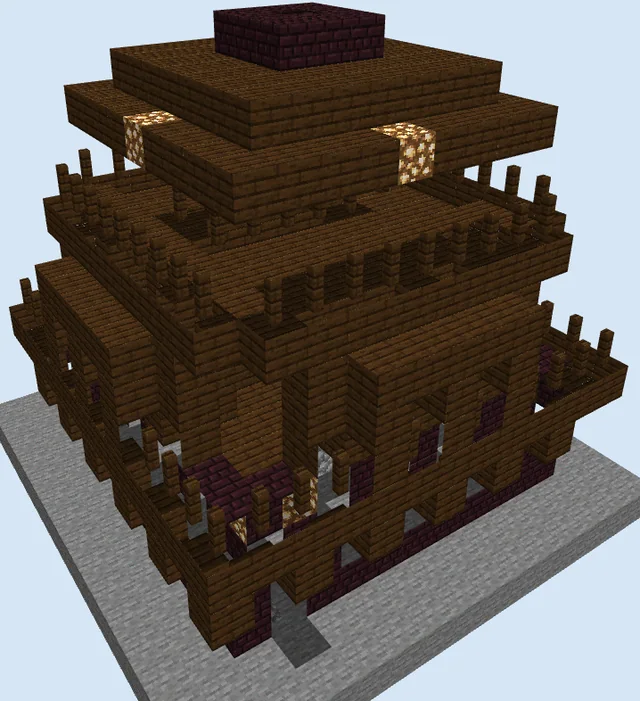
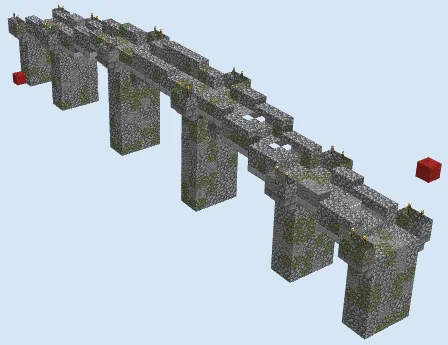
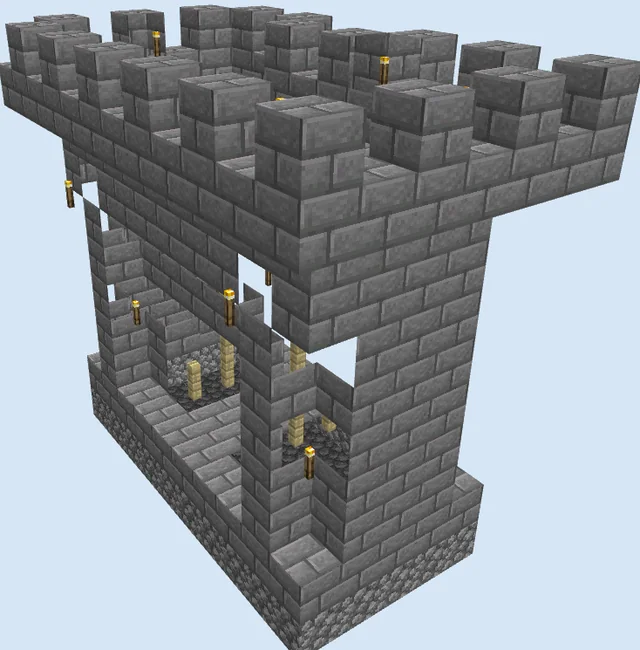
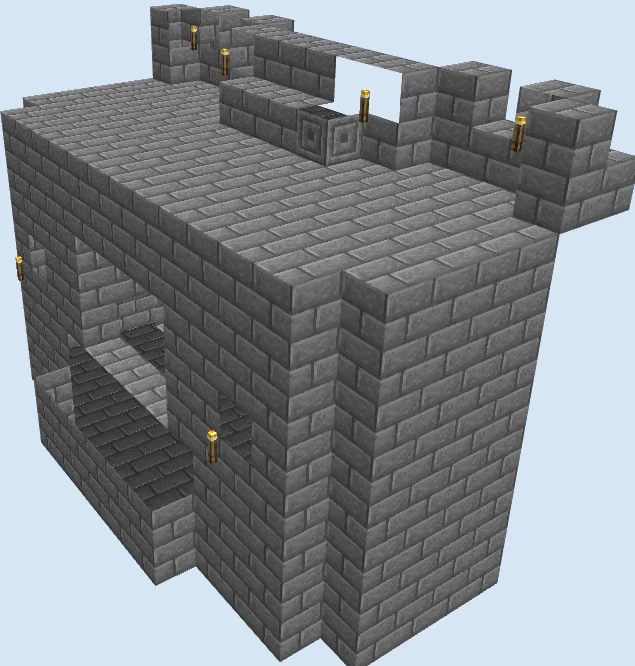
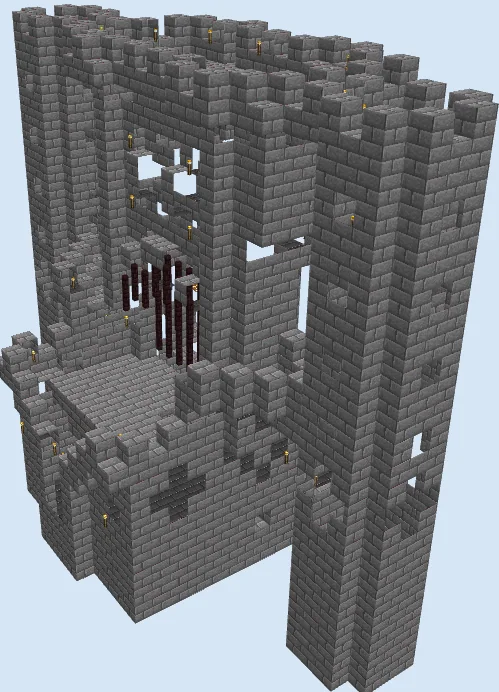
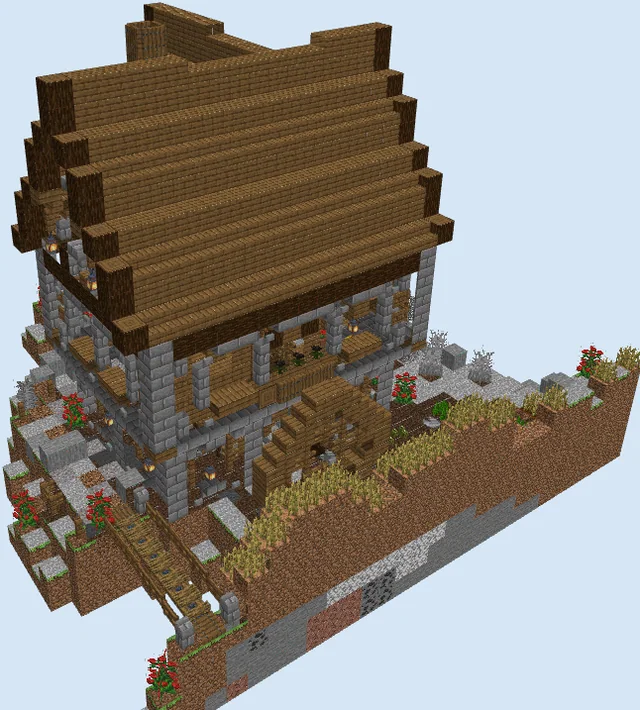
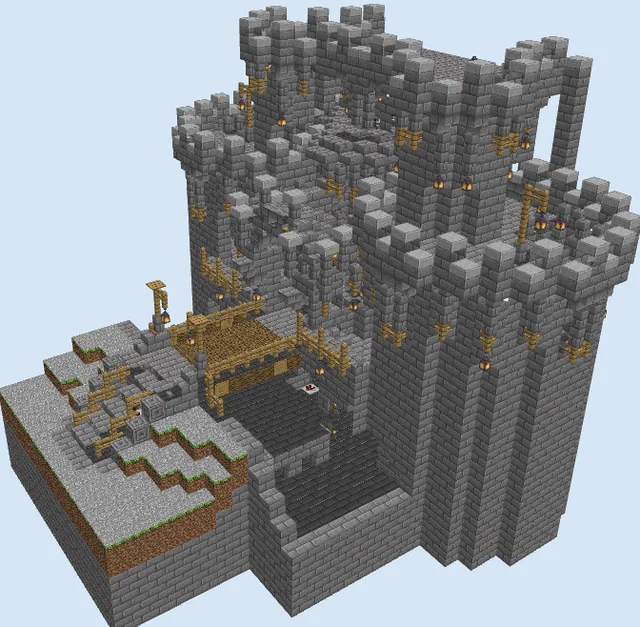
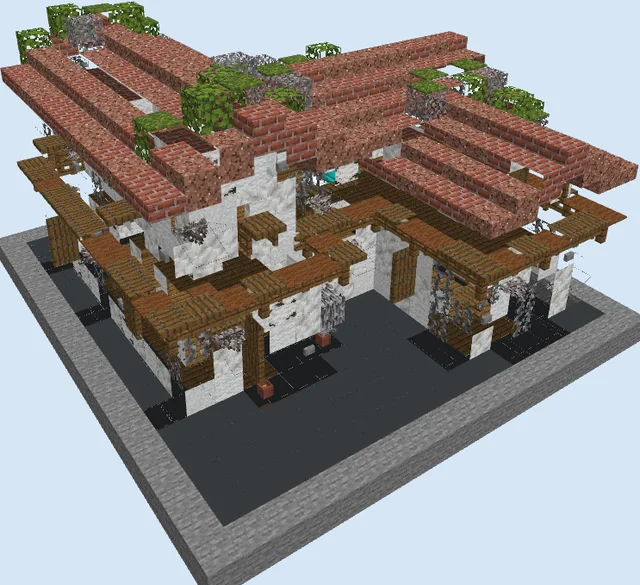
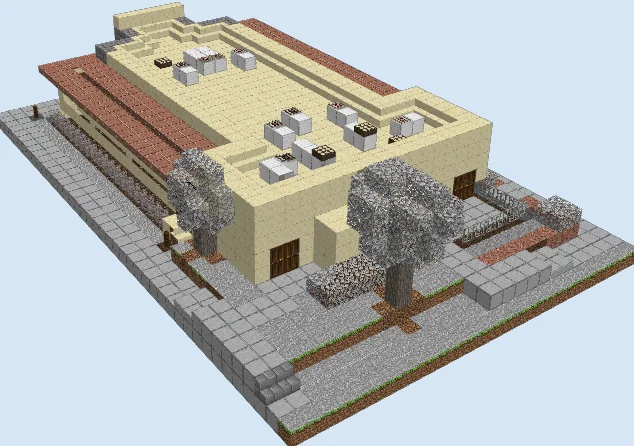
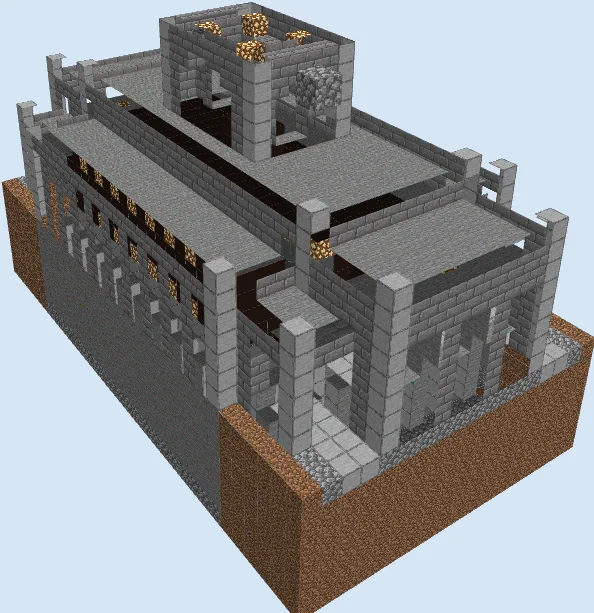
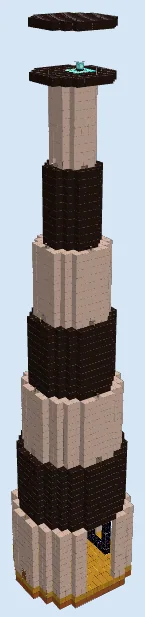
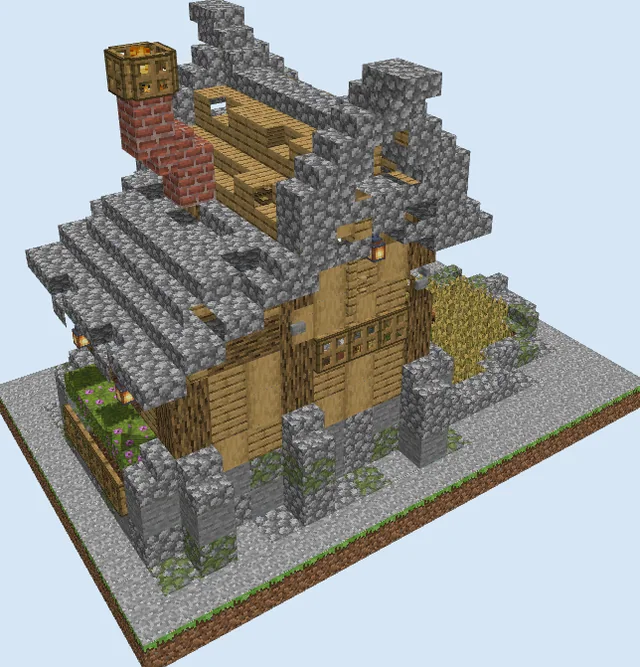
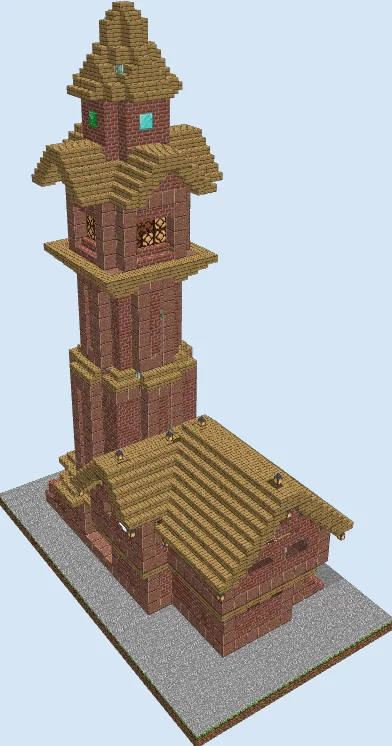
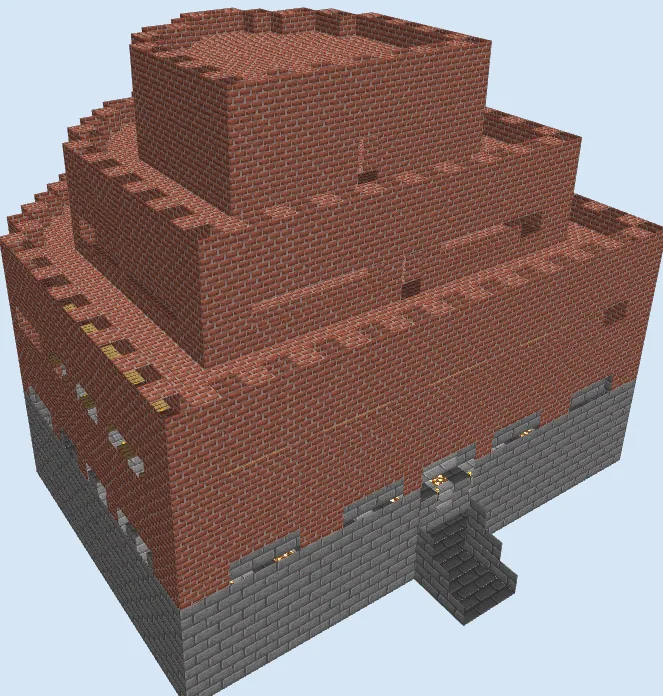
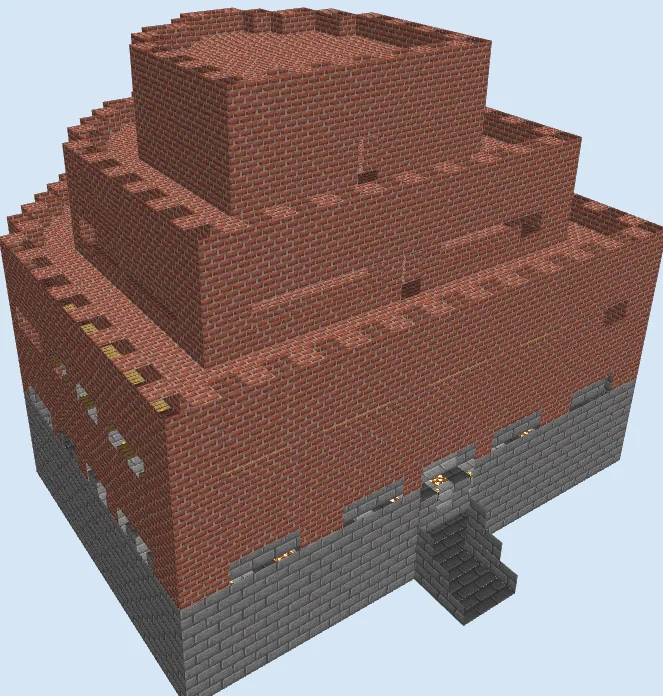
Standing as an imposing stronghold, this tiered fortress pairs the rugged durability of stone bricks with the bold red tones of classic clay bricks. Its broad base curves outward in a semi-circular bastion at the rear, giving defenders panoramic sightlines across surrounding terrain while stepping inward across multiple defensible ramparts.
This fortress serves wonderfully as a central survival redoubt or faction base on plains, coastal bluffs, or rocky hillsides. The thick masonry walls and elevated parapets offer supreme protection against hostile mobs and raiding players, while providing generous interior square footage across multiple vertical levels.
Materials 4,087 blocks · 14 types
- Bricks1,86029 stacks + 4
- Stone Bricks1,26119 stacks + 45
- Oak Planks4627 stacks + 14
- Torch1682 stacks + 40
- Glass Pane971 stack + 33
- Brick Slab891 stack + 25
- Glowstone861 stack + 22
- Stone Brick Stairs26
- Ladder18
- Oak Door6
- Oak Trapdoor6
- Glass4
- Chest2
- Red Bed2
Block palette
The exterior relies primarily on Bricks and Stone Bricks, creating a distinct two-tone contrast that separates the heavy groundworks from the upper keep. Flooring and accents utilize Oak Planks, Brick Slabs, and embedded Glowstone for clean, hidden underfoot illumination.
If clay bricks are scarce in your survival world, swap the red brickwork for Mud Bricks, Deepslate Bricks, or classic Cobblestone to achieve an equally formidable fortified look without extensive clay farming.
Lay the stone foundation and illuminated floor
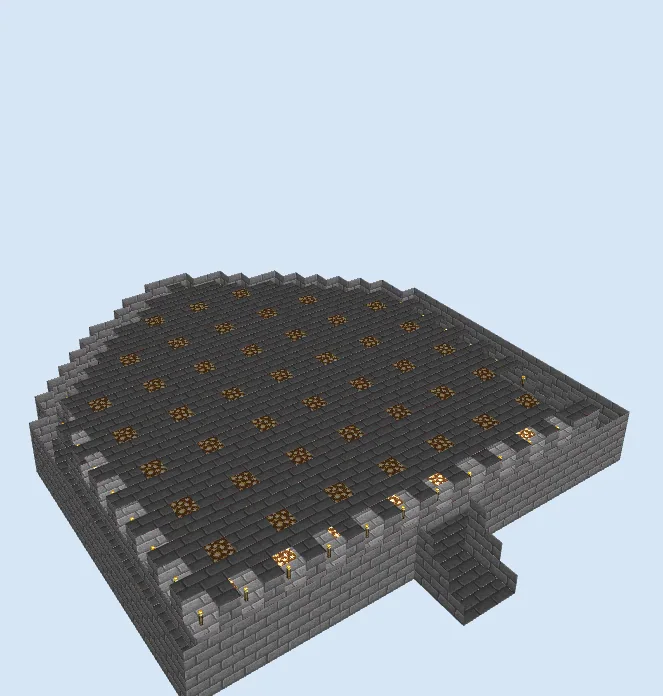
Layers 1–3 of 21Outline the ground perimeter using Stone Bricks, shaping a wide rectangular front that curves into a rounded bastion at the back. Build the exterior retaining walls three blocks high, then set a flight of Stone Brick Stairs leading up to the front entrance.
Fill the interior subfloor with Stone Bricks, spacing out an evenly spaced grid of Glowstone blocks across the entire surface to keep the foundation interior completely spawn-proof. Mount Torches along the outer rim crenellations.
Erect the first floor brick walls
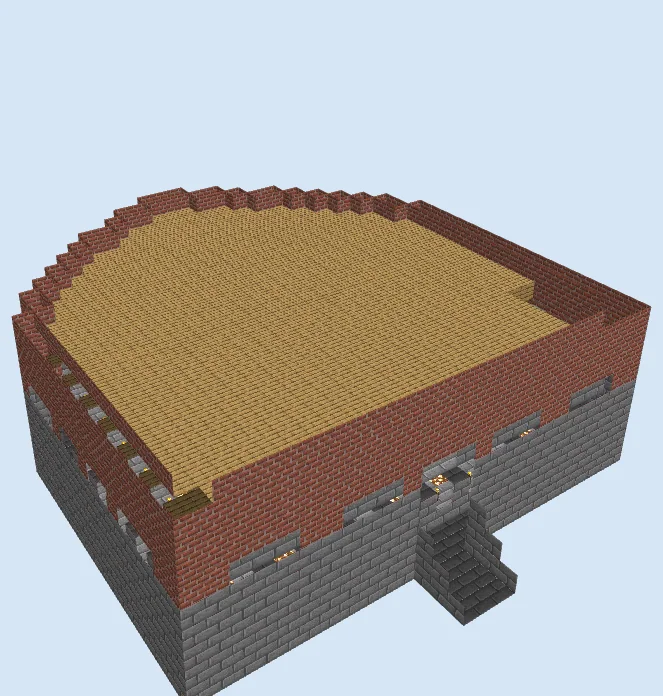
Layers 4–9 of 21Begin raising the primary perimeter walls using Bricks directly over the stone base. Follow the outer footprint, punching out narrow vertical arrow slits along the flanks and backing them with Glass Panes for defensive firing positions.
Span the ceiling of this ground level using Oak Planks, creating a smooth wooden second-story deck while leaving a setback ledge along the exterior rim for outer rampart patrols.
Build the second tiered defensive ring
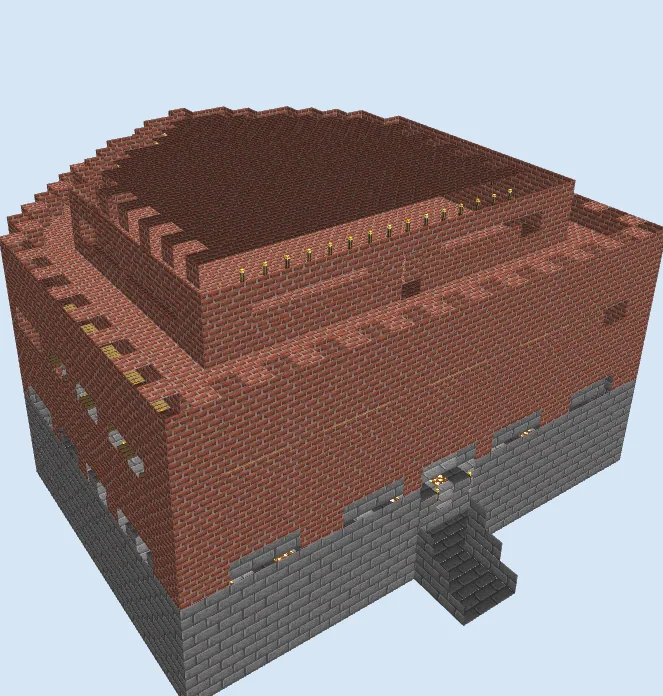
Layers 10–15 of 21Step inward by several blocks from the first-floor edge to construct the second tier walls out of Bricks. Around the outer perimeter ledge, place alternating brick blocks and Brick Slabs to establish defensive battlements.
Seal this middle chamber with another solid ceiling platform, and line the upper rim with Torches to guarantee visibility along every parapet during night sieges.
Crown the keep with the final watchtower
Layers 16–21 of 21Recede inward once more to construct the central crown watchtower using Bricks. Raise these walls to the full height of the fortress, leaving space for high observation windows.
Cap the summit with a solid brick roof surrounded by finished crenellations, giving archers an unobstructed vantage point overlooking the entire surrounding landscape.
Finishing touches
To finish the fortress, install Oak Doors at the ground entry and secure internal shafts with Ladders and Oak Trapdoors. Place Chests and Red Beds inside the living quarters, then landscape the exterior by paving a coarse dirt pathway leading to the main stairs and planting low hedges around the stone foundation.
Frequently Asked Questions
How do you move between the different fortress floors?
Interior ladder wells protected by oak trapdoors connect each tier from the ground floor up to the open-air roof parapets.
Can I replace the brick walls with other stone types?
Yes, swapping the bricks for mud bricks, cobblestone, or cracked stone bricks works smoothly and preserves the exact block counts.